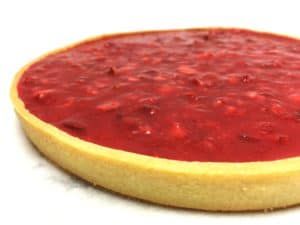
Quick Summary: Tarte Tatin aux Pommes (apple Tarte Tatin) is a classic French upside-down tart of caramelized apples baked under a puff pastry crust, then flipped so the glossy caramelized apples sit on top. The keys to success are using firm apples that hold their shape, cooking the caramel to a proper amber, and letting the tart cool before you invert it.

What is Tarte Tatin aux Pommes?
Tarte Tatin aux Pommes is a four-ingredient signature French apple upside-down dessert. It features caramelized apples, puff pastry, and silky caramel, which is revealed when the tart is flipped right after baking.
It was invented by two Tatin sisters, owners of a provincial French hotel named Hotel Tatin, at the end of the 19th century. Like several other pastries born from a happy kitchen accident, the tart is said to have been created when an apple tart was baked upside down by mistake.
I adapted the apple Tarte Tatin recipe from French chef Christophe Michalak. Instead of frying apples in caramel before baking them, Mr. Michalak cooks apple quarters in butter-sugar syrup for 10 minutes.
This makes the apples soft and allows you to arrange them in a pan with the cooked caramel as tightly as possible.
Ingredients
For ingredients and detailed instructions, refer to the recipe card below.
- Sugar: Use regular white sugar.
- Apples: Golden Delicious is preferred, but you can substitute Gala, Braeburn, Boskoop, Canada, Pink Lady, or Reinette if desired.
- Butter: Use unsalted butter, preferably with 82% fat content.
- Puff pastry: Use store-bought or homemade butter-based puff pastry. You can also replace it with shortcrust pastry, any pie crust, or pie dough.
How to make Tarte Tatin Pommes
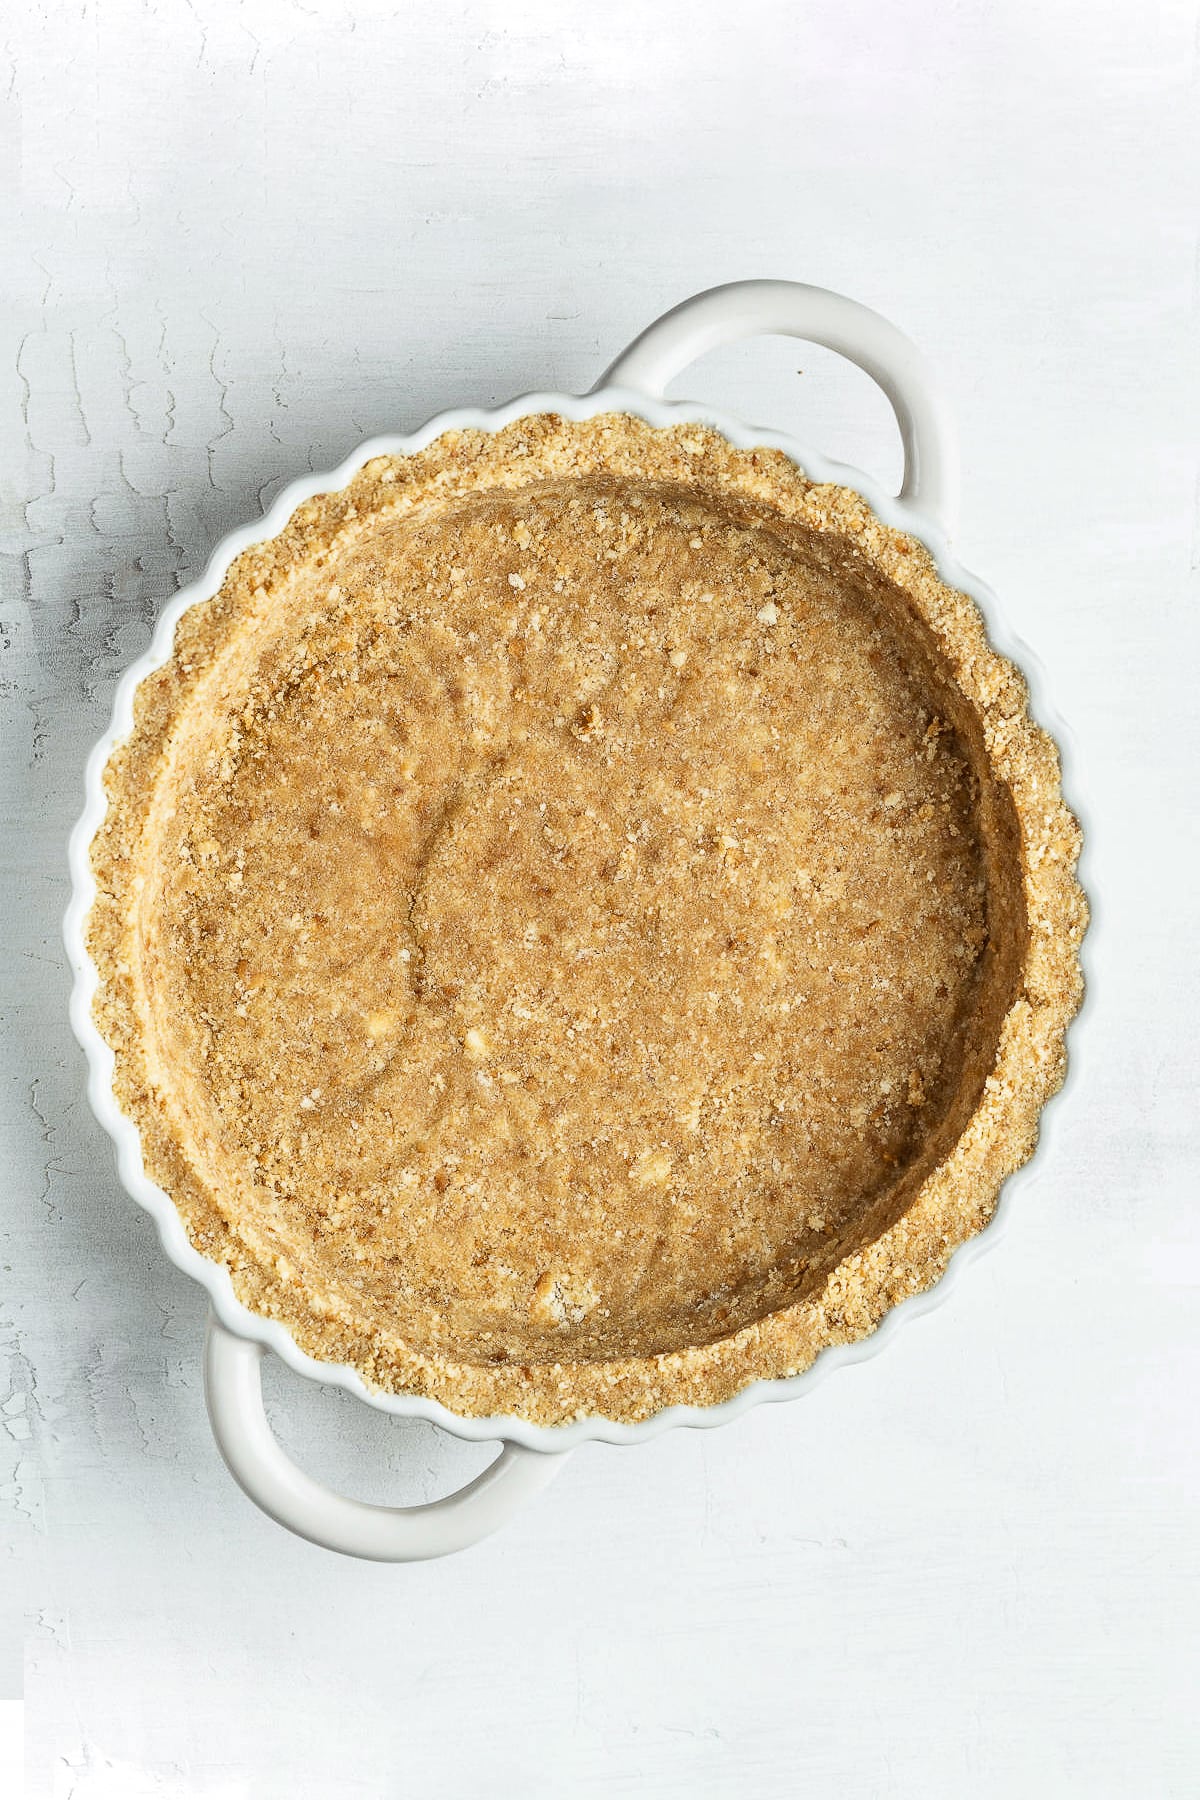
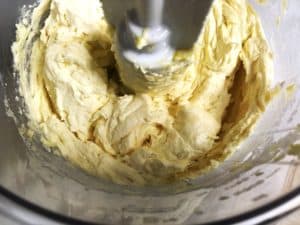
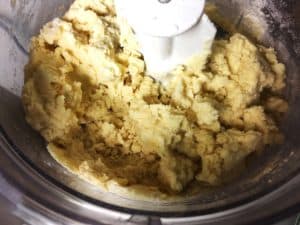
Step 1: Prepare the puff pastry. Thaw the puff pastry and roll it out to 5 mm thick. Using a 9-inch (23 cm) pie pan as a template, cut a pastry circle. Prick it with a fork and set aside.
Step 2: Make the dry caramel. Heat ⅓ of the sugar in a heavy-bottomed saucepan over medium heat, swirling the pan instead of stirring. Add another ⅓ of sugar, swirl again, then add the remaining sugar. Cook until the caramel turns a light amber color (about 3-4 minutes). Avoid overcooking to prevent bitterness. Pour the hot caramel immediately into a 9-inch (23 cm) pie tin and let it harden.
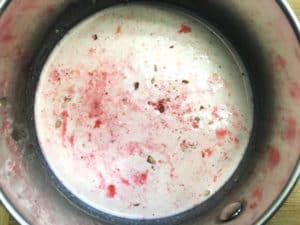
Step 3: Poach the apples. Peel, quarter, and core the apples. In a large pot, bring water, butter (cubed), and sugar to a boil. Add the apples and cook for about 10 minutes until translucent. Test readiness with a knife: if it slides in easily, the apples are done. Let them cool.
Step 4: Assemble the Tarte Tatin. Preheat the oven to 355°F (180°C). Arrange the apple slices tightly in concentric circles on the caramel layer. Place the pastry circle over the apples and gently press the edges against the mold.
Step 5: Bake and serve. Bake for 45 minutes until the pastry is golden brown. Let cool for 20-30 minutes. Place a serving plate on top of the mold and quickly flip to release the tart.

How to make the caramel for Tarte Tatin
The caramel is the heart of a Tarte Tatin, and this recipe uses a dry caramel made solely from sugar. Heat the sugar in a heavy-bottomed pan over medium heat, adding it in batches and swirling the pan rather than stirring, to prevent clumping or crystallization.
Watch it closely: the sugar will melt, then turn from pale gold to a deep amber. Amber is exactly where you want to stop, because caramel keeps cooking from residual heat and can quickly turn bitter if it darkens too far.
As soon as it reaches an even amber color, pour it into your pan to form the base layer, then arrange the apples on top.
Expert Tips
- Pay attention to making caramel. The caramel continues to cook and darkens further from residual heat in the hot saucepan. If it is overcooked, the baked Tarte Tatin may get a bitter, burned taste.
- Poach apples in one batch or divide apples and poach them twice. Do not overcook the apples.
- Use a different bakeware, such as a pie tin, a cake pan, or an oven-safe skillet: a special Tarte Tatin tin, a nonstick skillet (without a handle), or a cast-iron skillet.
- Arrange the poached apples tightly by pressing them down against each other and the edge of the pan.
- To reheat the cooled Tarte Tatin in the pan, bake it at 355°F (180°C) for a few minutes to liquefy the caramel. Then, flip it over and serve.
- Attention: The calorie count is calculated approximately and does not include the full amounts of caramel and poaching syrup ingredients.
- Make-ahead option: You can arrange poached apples on top of the solidified caramel, wrap them in plastic wrap, and refrigerate overnight. The next day, cover the apples with puff pastry and bake.
How to invert (unmold) Tarte Tatin
Inverting is the trickiest step, but a short rest makes it easy. Once the tart comes out of the oven, let it cool for about 20 to 30 minutes so the caramel thickens slightly and the tart sets.
Flipping it straight away sends hot caramel running, while letting it cool completely makes the caramel stick to the pan.
When it is ready, place a serving plate upside down over the pan, hold the plate and pan firmly together with oven mitts, and flip the whole thing over in one confident motion.
Lift the pan away. If any apples stick behind, simply lift them off and press them back into place, then spoon over any caramel left in the pan.
Storing & freezing
Store apple Tarte Tatin in an airtight container in the refrigerator for a couple of days, but it is best served warm, straight from the oven. For another cozy fruit bake, try this easy apple and blueberry crumble.
You can freeze it, well wrapped, for up to 3 months. Thaw it in the refrigerator overnight before slicing and serving.
Best apples for Tarte Tatin aux pommes
Apples must hold their shape throughout cooking to make the best apple Tarte Tatin.
- Reine de Reinette, Reinette Clochard, Reinette Chanteclerc, and Belle de Boskoop apples have the right balance of sweetness and acidity.
- Gala and Golden Delicious: I use the latter to make my apple Tarte Tatin.
- Honeycrisp apples.
You must peel and core apples, slice them into quarters, and caramelize them. Gordon Ramsay and Jacques Sailer recommend peeling apples the night before and keeping them uncovered in the refrigerator to allow them to dry. This step helps avoid a soggy crust.
What is the best pan for Tarte Tatin?
Because Tarte Tatin starts on the stovetop and finishes in the oven, you need a single oven-safe pan with no plastic parts.
A traditional copper or cast-iron Tarte Tatin pan is ideal, as it evenly distributes heat and gives the caramel a deep, even color. A heavy stainless-steel or cast-iron skillet works just as well and is the most common choice for home cooks.
If you do not have an oven-safe skillet, you can make the caramel and cook the apples in a saucepan, then transfer everything to a metal pie tin or cake pan for baking.
Whichever pan you use, choose one about 9 to 10 inches (23 to 25 cm) wide so the apples fit snugly in a single layer.
Recipe FAQ
What is the difference between a tart and a Tarte Tatin?
A traditional tart is filled with fresh fruit, jam, or custard and baked with the pastry on the bottom. Tarte Tatin is an upside-down tart in which the fruit is caramelized on the stovetop first, then covered with pastry, baked, and flipped so the fruit ends up on top.
What are the best apples for Tarte Tatin Pommes?
Use firm, slightly tart apples that hold their shape, such as Pink Lady, Reine des Reinettes, Golden Delicious, Fuji, or Gala. These varieties stay in neat pieces during cooking. Very soft apples break down into applesauce, so a little natural acidity and firmness go a long way.
How do you keep the apples from turning to mush?
Choose firm apples, cook them gently rather than at a hard boil, and do not overcook them on the stovetop. Slightly tart varieties hold together best because their acidity helps stabilize the pectin that keeps the apple pieces intact while they caramelize and bake.
Can you make Tarte Tatin with store-bought puff pastry?
Yes. Good-quality store-bought puff pastry is the easiest option and works beautifully. Simply thaw it, roll it to an even thickness, cut a circle slightly larger than your pan, and prick it with a fork before laying it over the apples.
What is the best pan for Tarte Tatin?
Tarte Tatin should be made in an oven-safe skillet or pan: a dedicated tarte Tatin pan, a pie tin, a nonstick skillet without a plastic handle, or a cast-iron skillet. The pan needs to be moved from the stovetop to the oven and held evenly over the caramel.
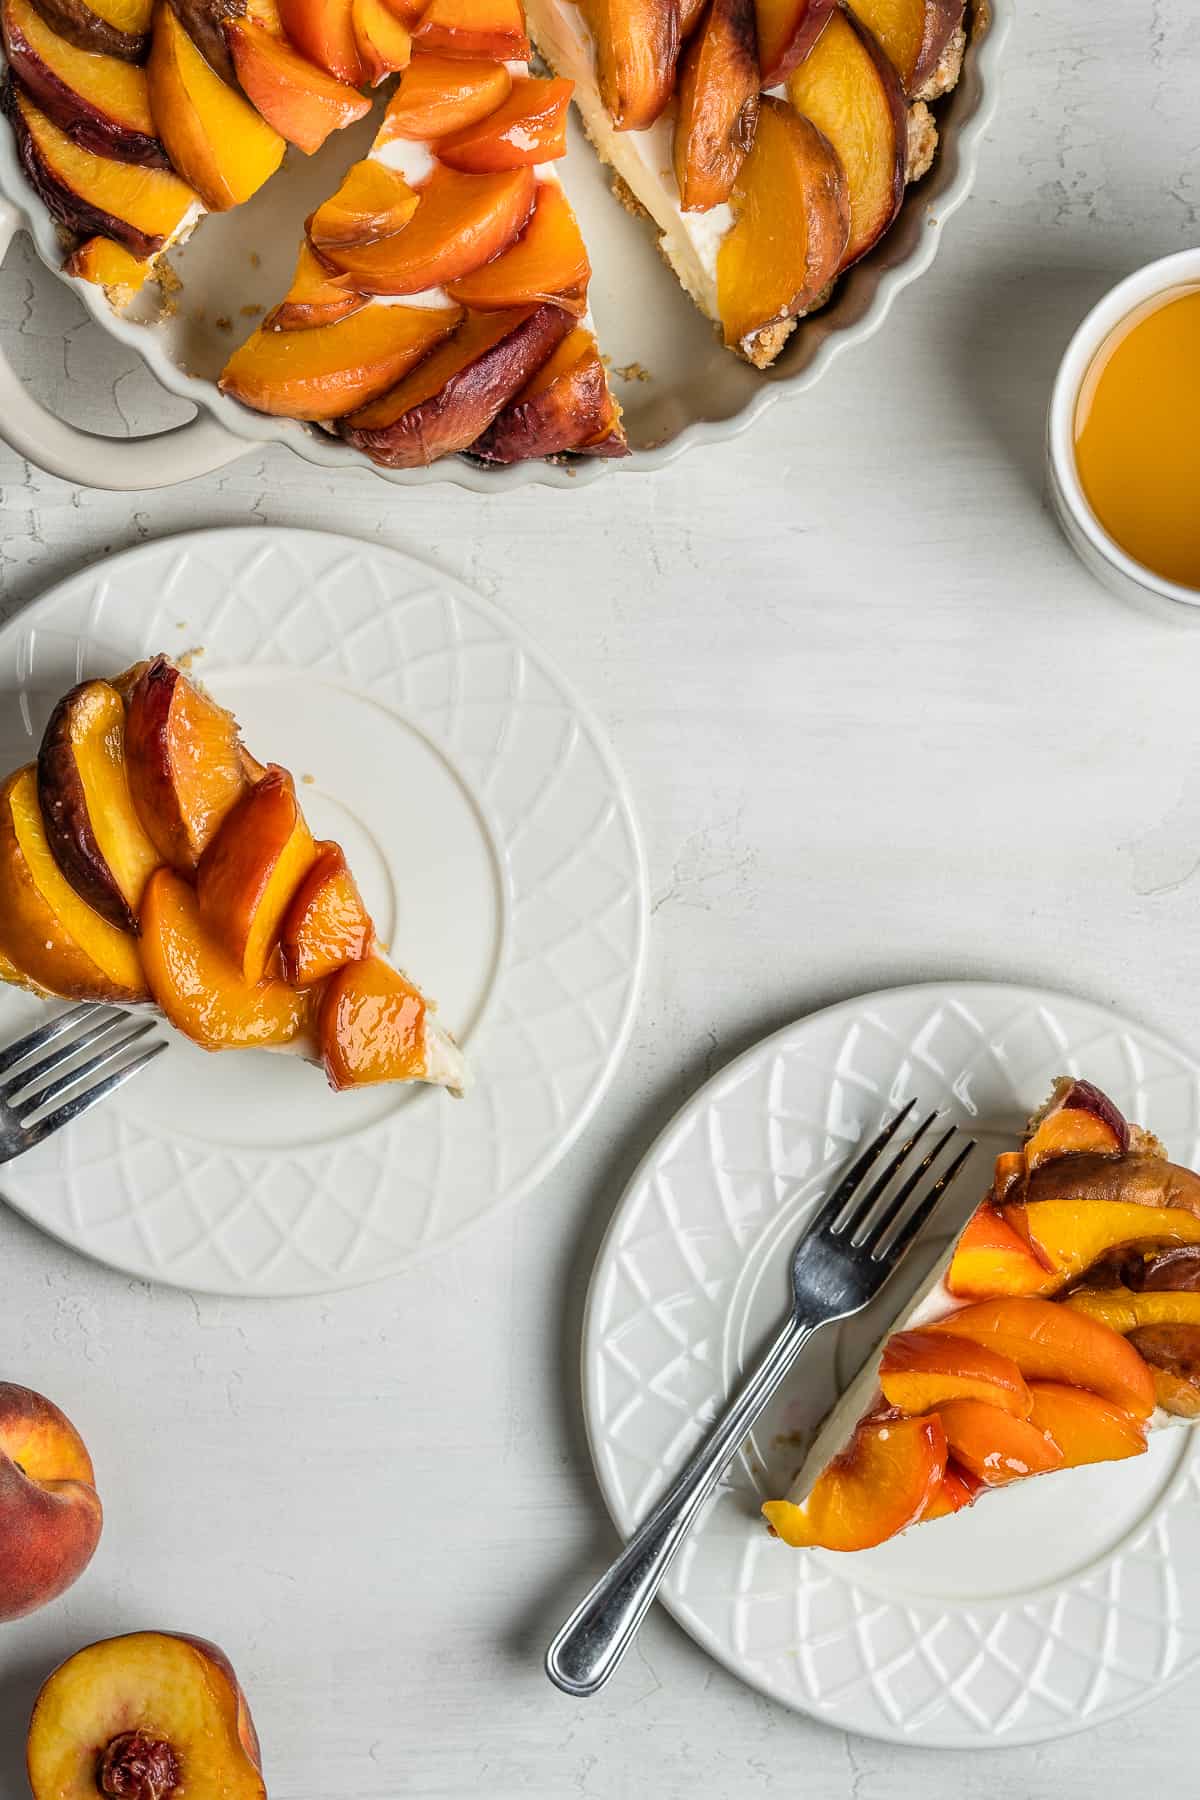
How do you serve Tarte Tatin Pommes?
Serve it warm, ideally the day it is made, with homemade whipped cream, a dollop of crème fraîche, sour cream, sweetened mascarpone, or a scoop of vanilla ice cream. The cool, creamy topping balances the warm caramel and apples.
Want more delicious and beautiful recipes? Subscribe to my newsletter and follow me on Facebook, Pinterest, and Instagram for my latest updates. If you make this recipe, please leave a star rating on the recipe card and comment below!
PrintRecipe card
Tarte Tatin Pommes (Apple Tarte Tatin)

Tarte Tatin Pommes, or apple Tarte Tatin, is a four-ingredient signature French apple upside-down dessert with caramelized apples, puff pastry, and silky caramel.
- Prep Time: 30 minutes
- Cook Time: 45 minutes
- Total Time: 1 hour, 15 minutes
- Yield: 6 1x
- Category: Tarts
- Method: Baking
- Cuisine: French
Ingredients
For the caramel:
- 1 cup (200 g) granulated sugar
For the tart:
- 7 big apples Golden Delicious
- 1 cup + 2 tablespoons ( 250 g) granulated sugar for the syrup
- 8.8. oz. (250 g) butter for the syrup
- 1 cup + 4 tablespoons (300 g) water for the syrup
- 8.8 oz. (250 g) puff pastry, thawed
*Don't you have the correct baking pan on hand right now? Try this simple Cake Pan Converter!
** If needed, please refer to Baking Conversion Charts.
Instructions
- Using a rolling pin, roll the thawed puff pastry out to 5 mm thick. Using a 9-inch (23 cm) pie pan as a template, cut a dough circle. Prick it with a fork and set it aside.
- To make dry caramel, place ⅓ of the granulated sugar in a saucepan and cook over medium heat. Shake the pan over the stovetop while cooking the sugar, but do not use utensils. Add another ⅓ of sugar and swirl the saucepan again. Finally, add the remaining sugar. The caramel must get a beautiful color without becoming quite brown. It takes about 3 to 4 minutes. Pour the caramel immediately into the bottom of a 9-inch/23 cm pie tin. Put aside for the caramel to harden.
- To poach apples, peel and quarter them. Remove all seeds using a spoon or melon baller. In a large pot, place water, butter, and sugar, and bring to a boil. Add the apples and cook them for about 10 minutes. Remove the apples when they become translucent. Test the apples' readiness: if the tip of a knife goes in without resistance, the apples are ready. Let them cool down.
- Preheat the oven to 355°F (180°C). Arrange apple quarters at the bottom of the pie mold, pressing them tightly against the edges in concentric circles.
- Place a circle of puff pastry on top of the poached apples. Slightly press the edges of the pastry against the sides of the mold. Bake for 45 minutes until the pastry is golden brown.
- Take the tart out of the oven and let it cool down for about 20 to 30 minutes. Then place a serving platter on top of the mold and flip the tart quickly with a sharp move. Tarte Tatin is topped with caramelized apples, while a puff pastry circle forms the base.
Notes
- Poach apples as a single batch, or divide them and poach them in two batches. Do not overcook apples!
- Arrange the poached apples tightly by pressing them down and against each other.
- If the tart has cooled before serving, bake it at 355°F (180°C) for a few minutes to liquefy the caramel. Then, flip it over and serve.
- The calorie count is approximate and does not include the full amounts of caramel and poaching syrup ingredients.
- Make-ahead option: You can arrange poached apples on top of the solidified caramel, wrap them in plastic wrap, and refrigerate overnight. The next day, cover apples with puff pastry and bake.
Nutrition
- Serving Size: 1 slice
- Calories: 423
- Sugar: 25.3 g
- Sodium: 183 mg
- Fat: 27.1 g
- Saturated Fat: 11.1 g
- Carbohydrates: 43.8 g
- Fiber: 0.6 g
- Protein: 3.2 g
- Cholesterol: 30 mg
The nutritional information has been calculated using an online recipe nutrition calculator such as Verywellfit.com and is intended for informational purposes only. These figures should be used as a general guideline and not be construed as a guarantee.
The recipe was adapted from C'est pas de la tart. It was initially published on October 05, 2018. The recipe has been revised to include improved content and photos.