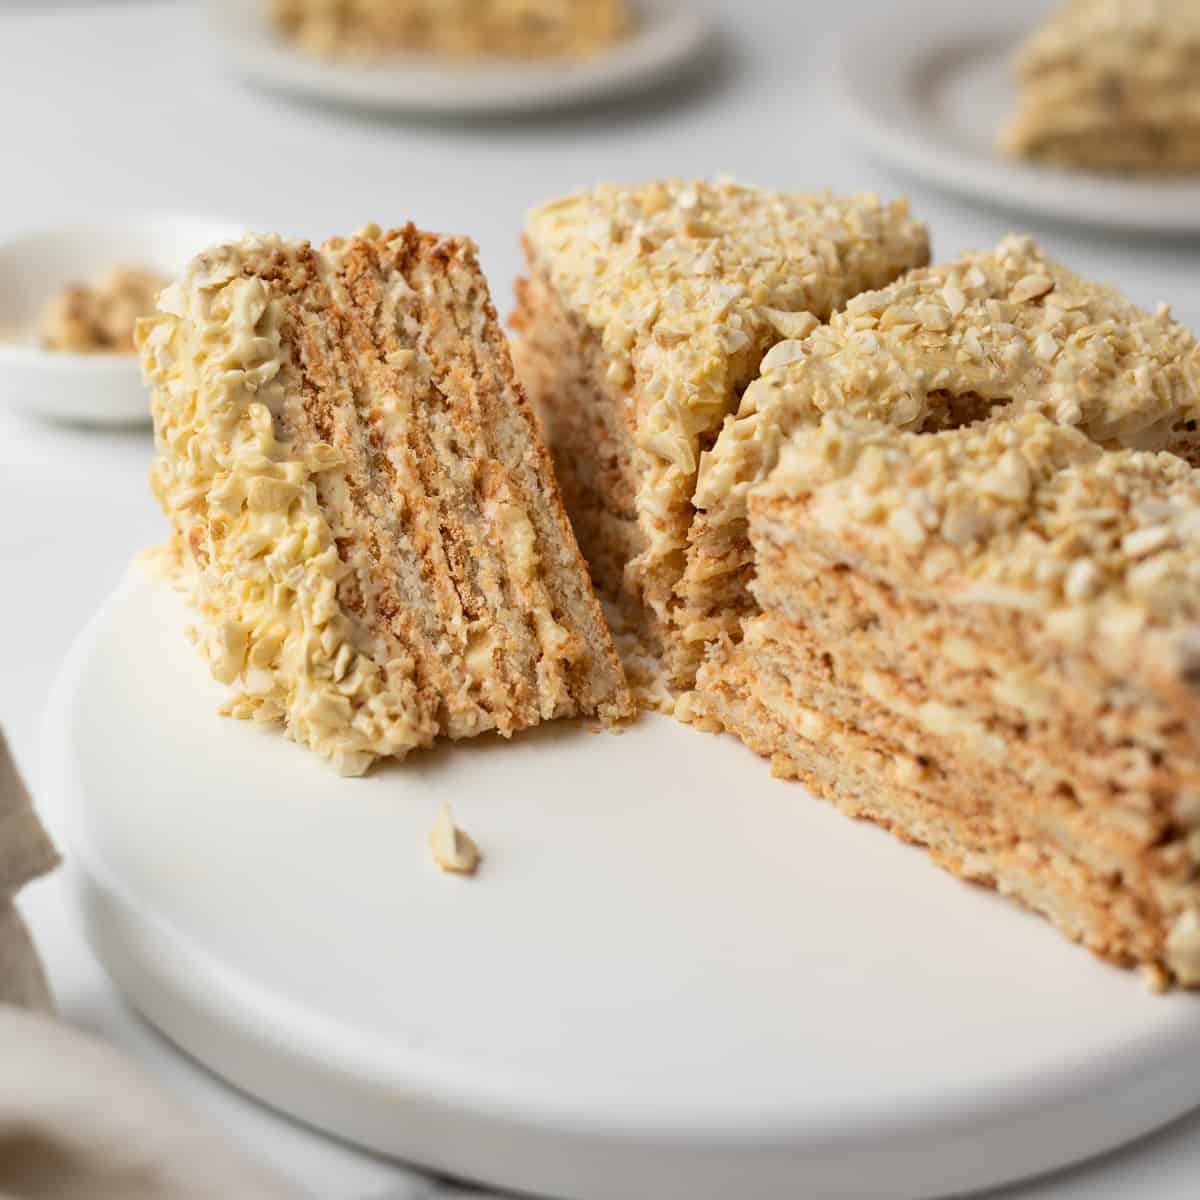
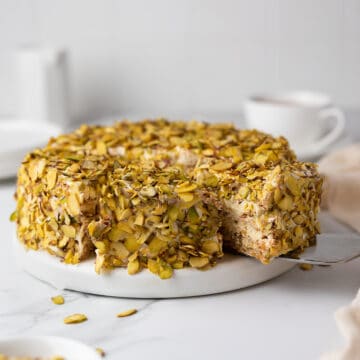
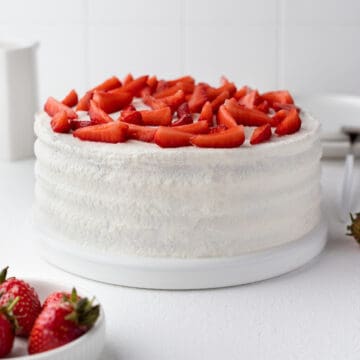
If you love puff pastry desserts, I highly recommend trying this Napoleon roll cake. It is a beautiful chilled dessert made from golden store-bought puff pastry strips layered with sweetened condensed milk cream, then rolled into a log and topped with crunchy crumbs.

This Napoleon roll cake has the classic flavor of a traditional Napoleon cake. Still, it is way simpler to make: no stacking tons of layers, no complicated custard, and no oven work after assembly. It is a brilliant shortcut that still gives you all the creamy, buttery, flaky goodness we love.
Why you'll love this Napoleon-style puff pastry cake
- Made with store-bought puff pastry.
- Uses just butter and sweetened condensed milk for the cream.
- Feels fancy but is super easy to put together.
- Perfect for holidays, birthdays, or any occasion when you crave a sweet treat.
Ingredients
- Store-bought puff pastry, defrosted
- Sweetened condensed milk
- Unsalted butter, softened: I use European-style butter with 82% fat content
How to make a Napoleon roll cake
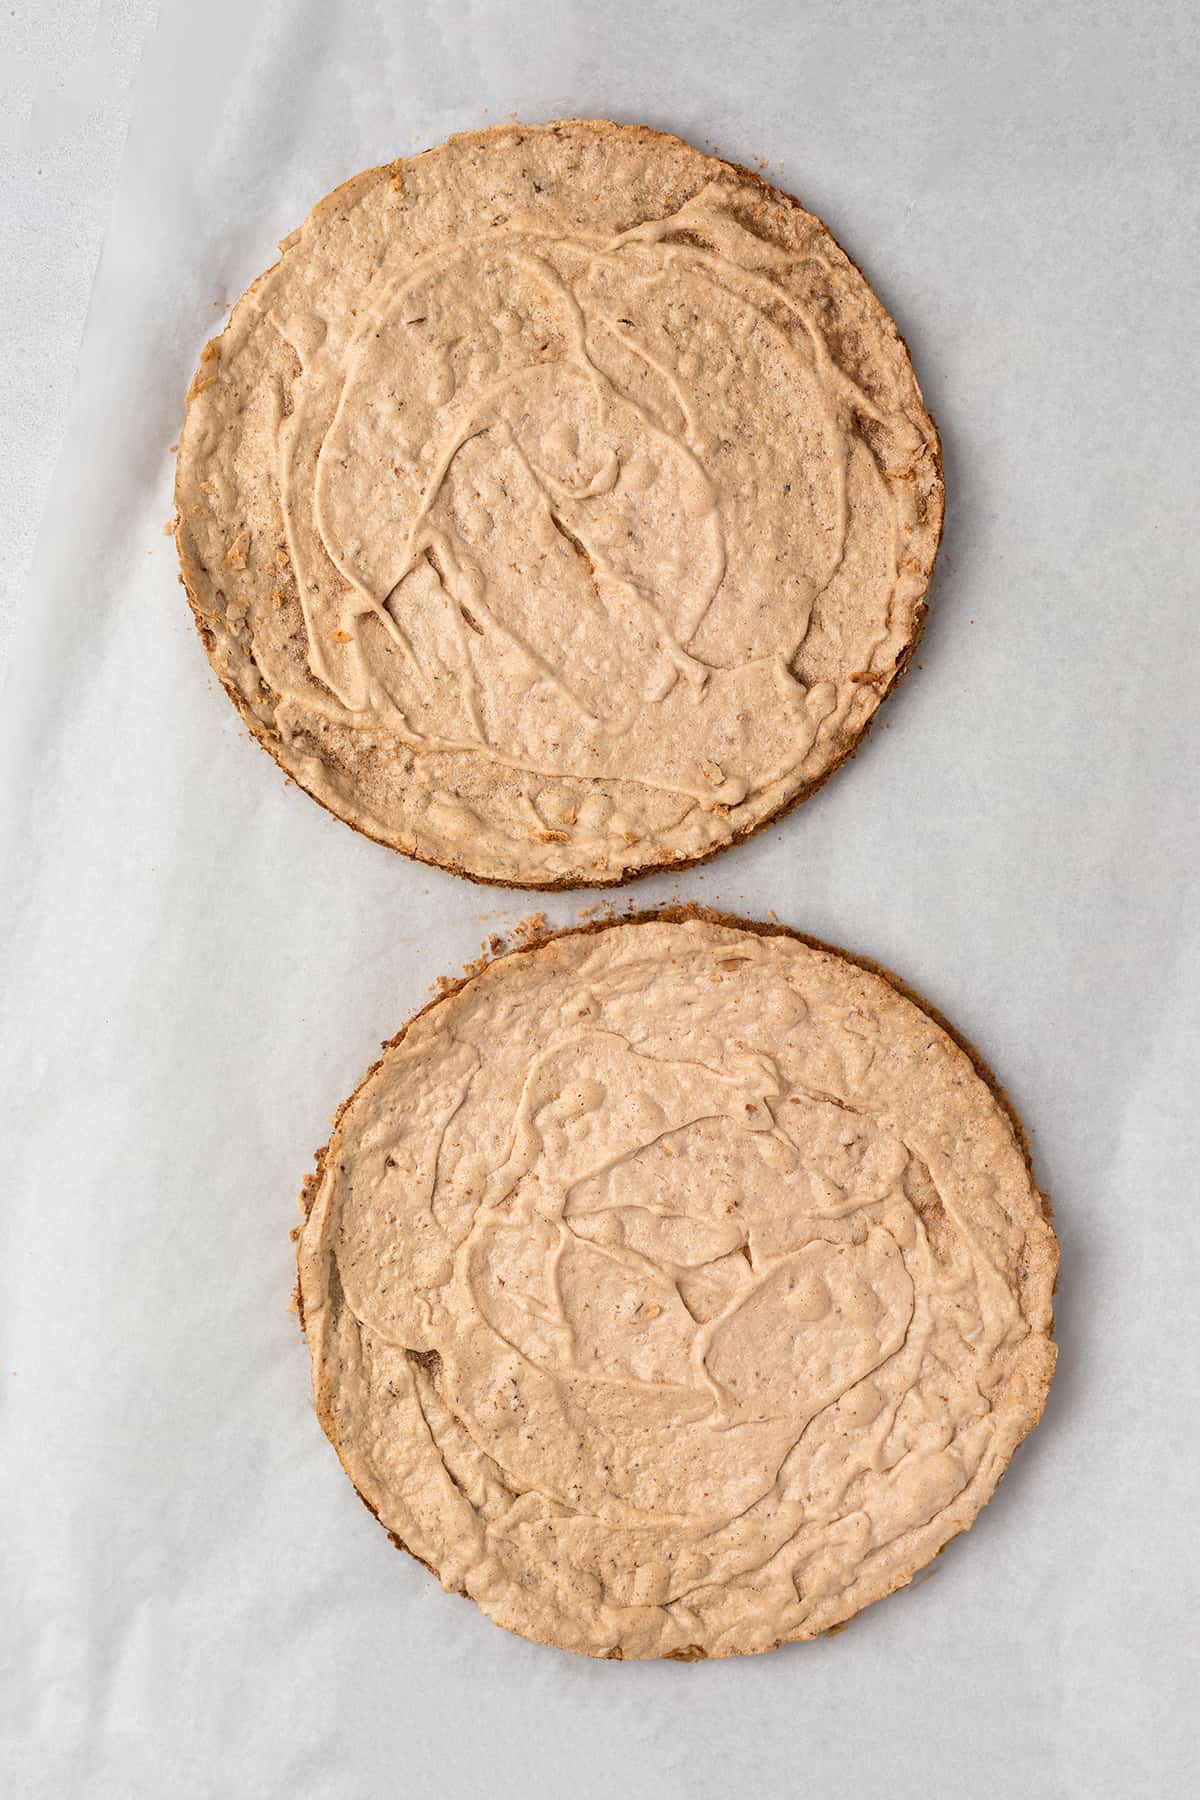
1. Bake the puff pastry strips
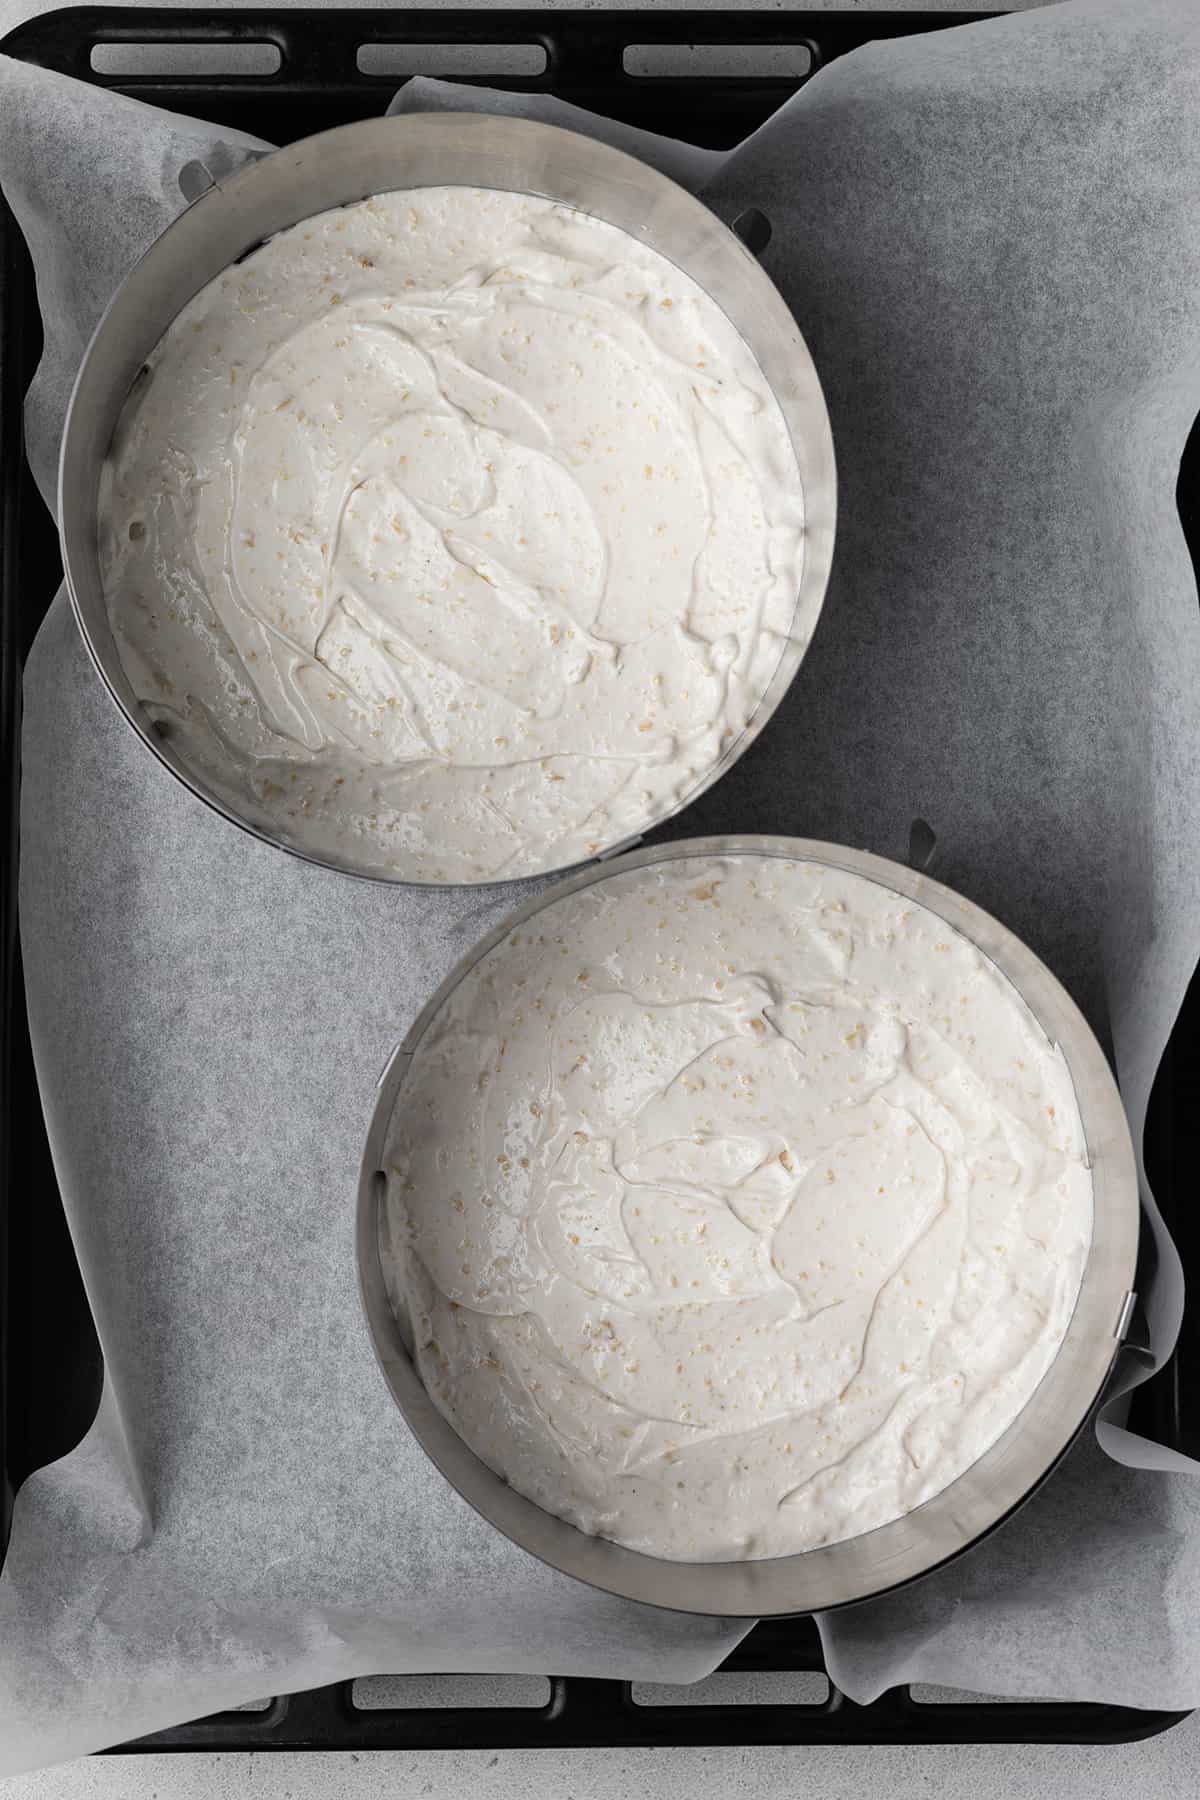
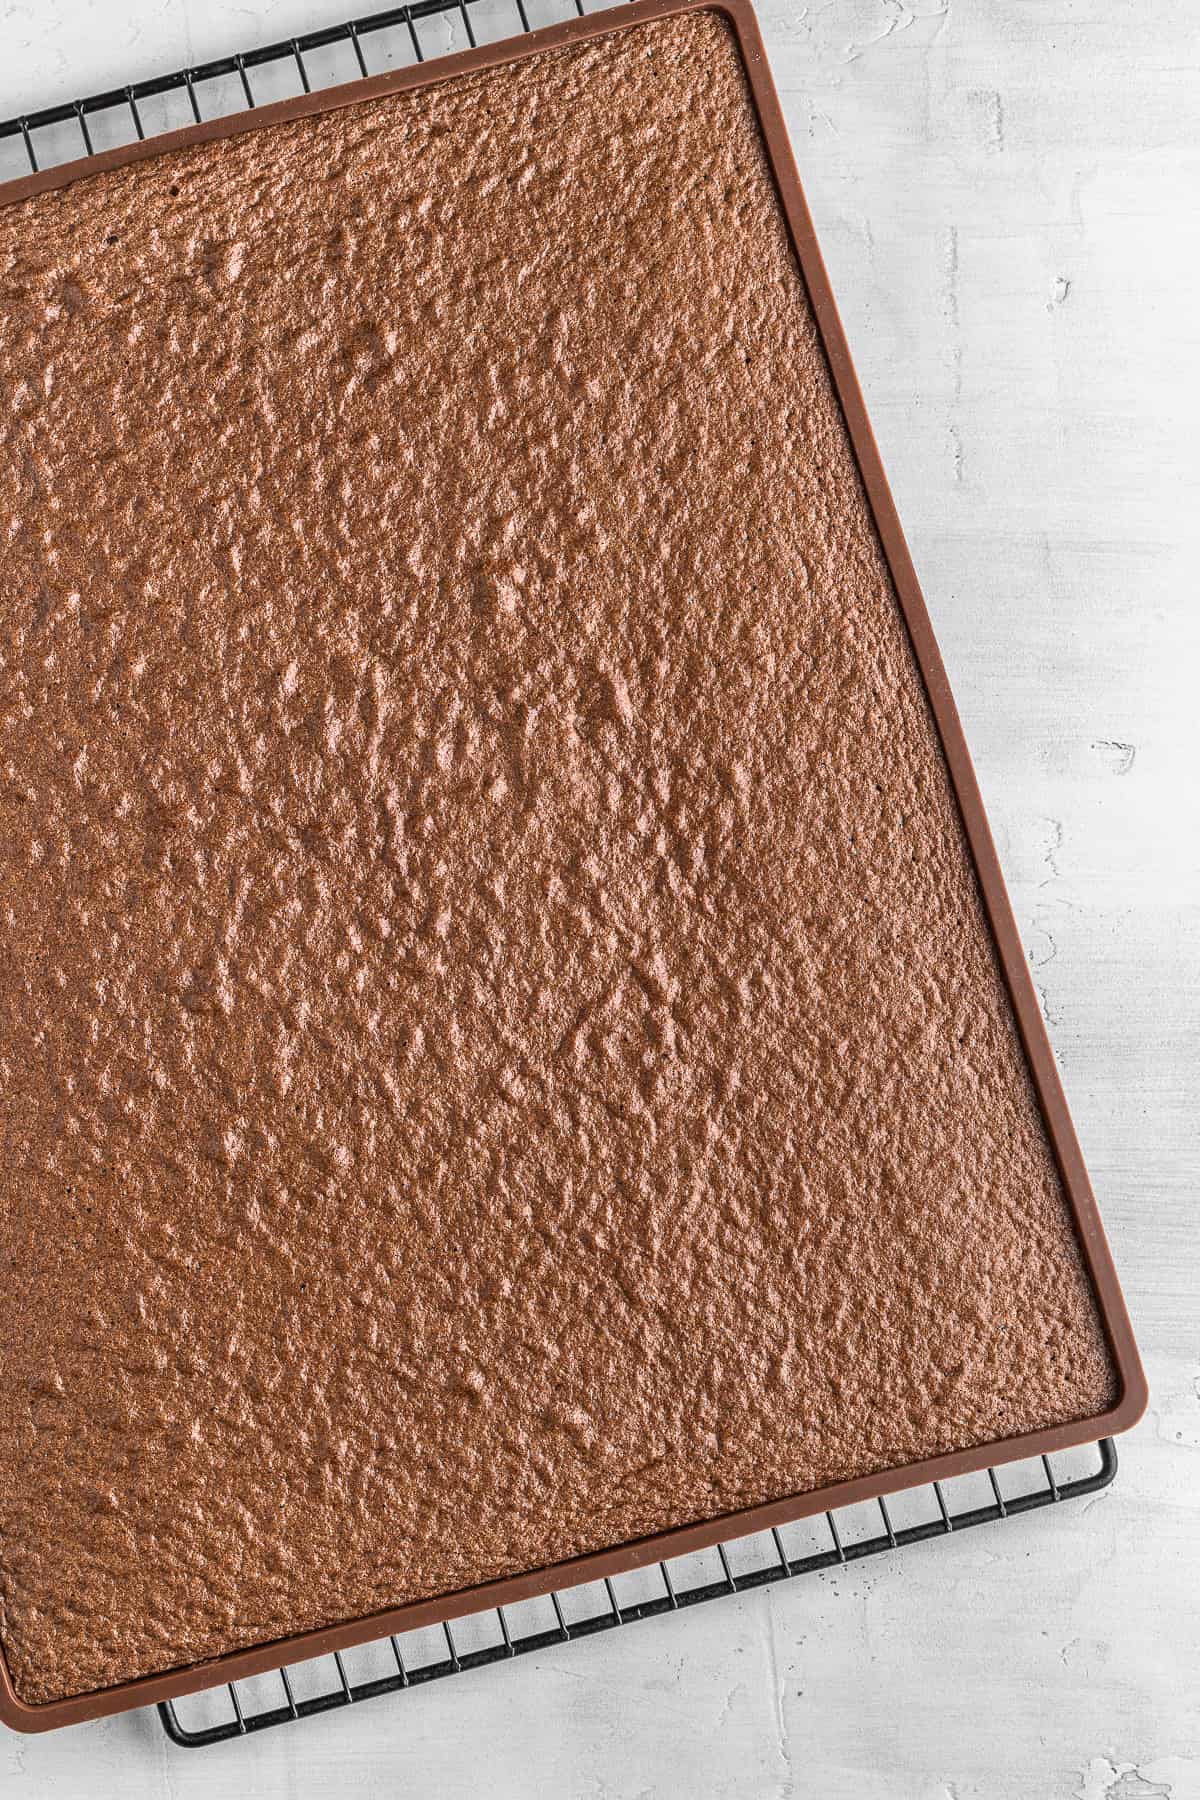
Preheat the oven to 400°F (200°C). Roll out the defrosted puff pastry to a thickness of about ⅙ inch (4 mm). Cut it into long strips, around 9 inches (23 cm) long and ½-3/4 inch (1.5-2 cm) wide. Place them on a parchment-lined baking sheet. Bake for 15-20 minutes or until puffed and golden. Let cool completely.
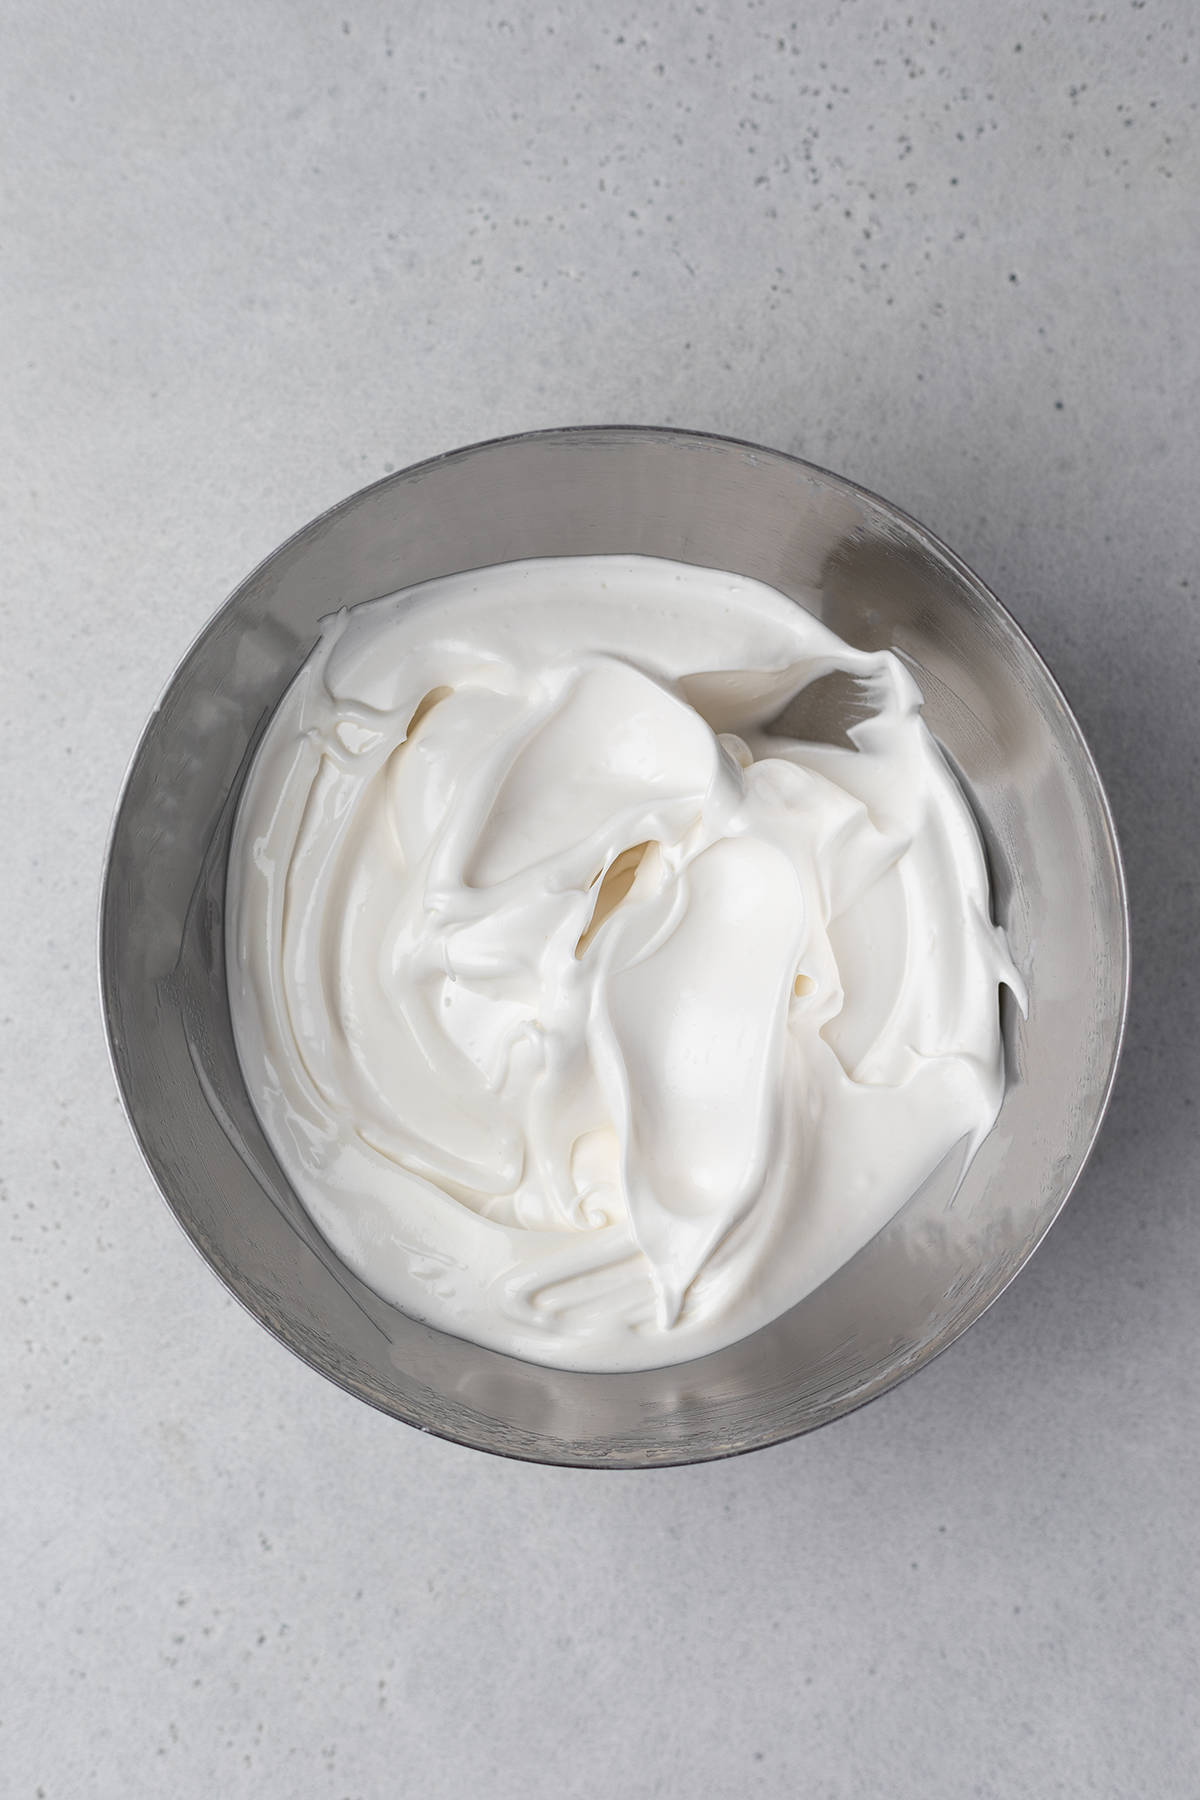
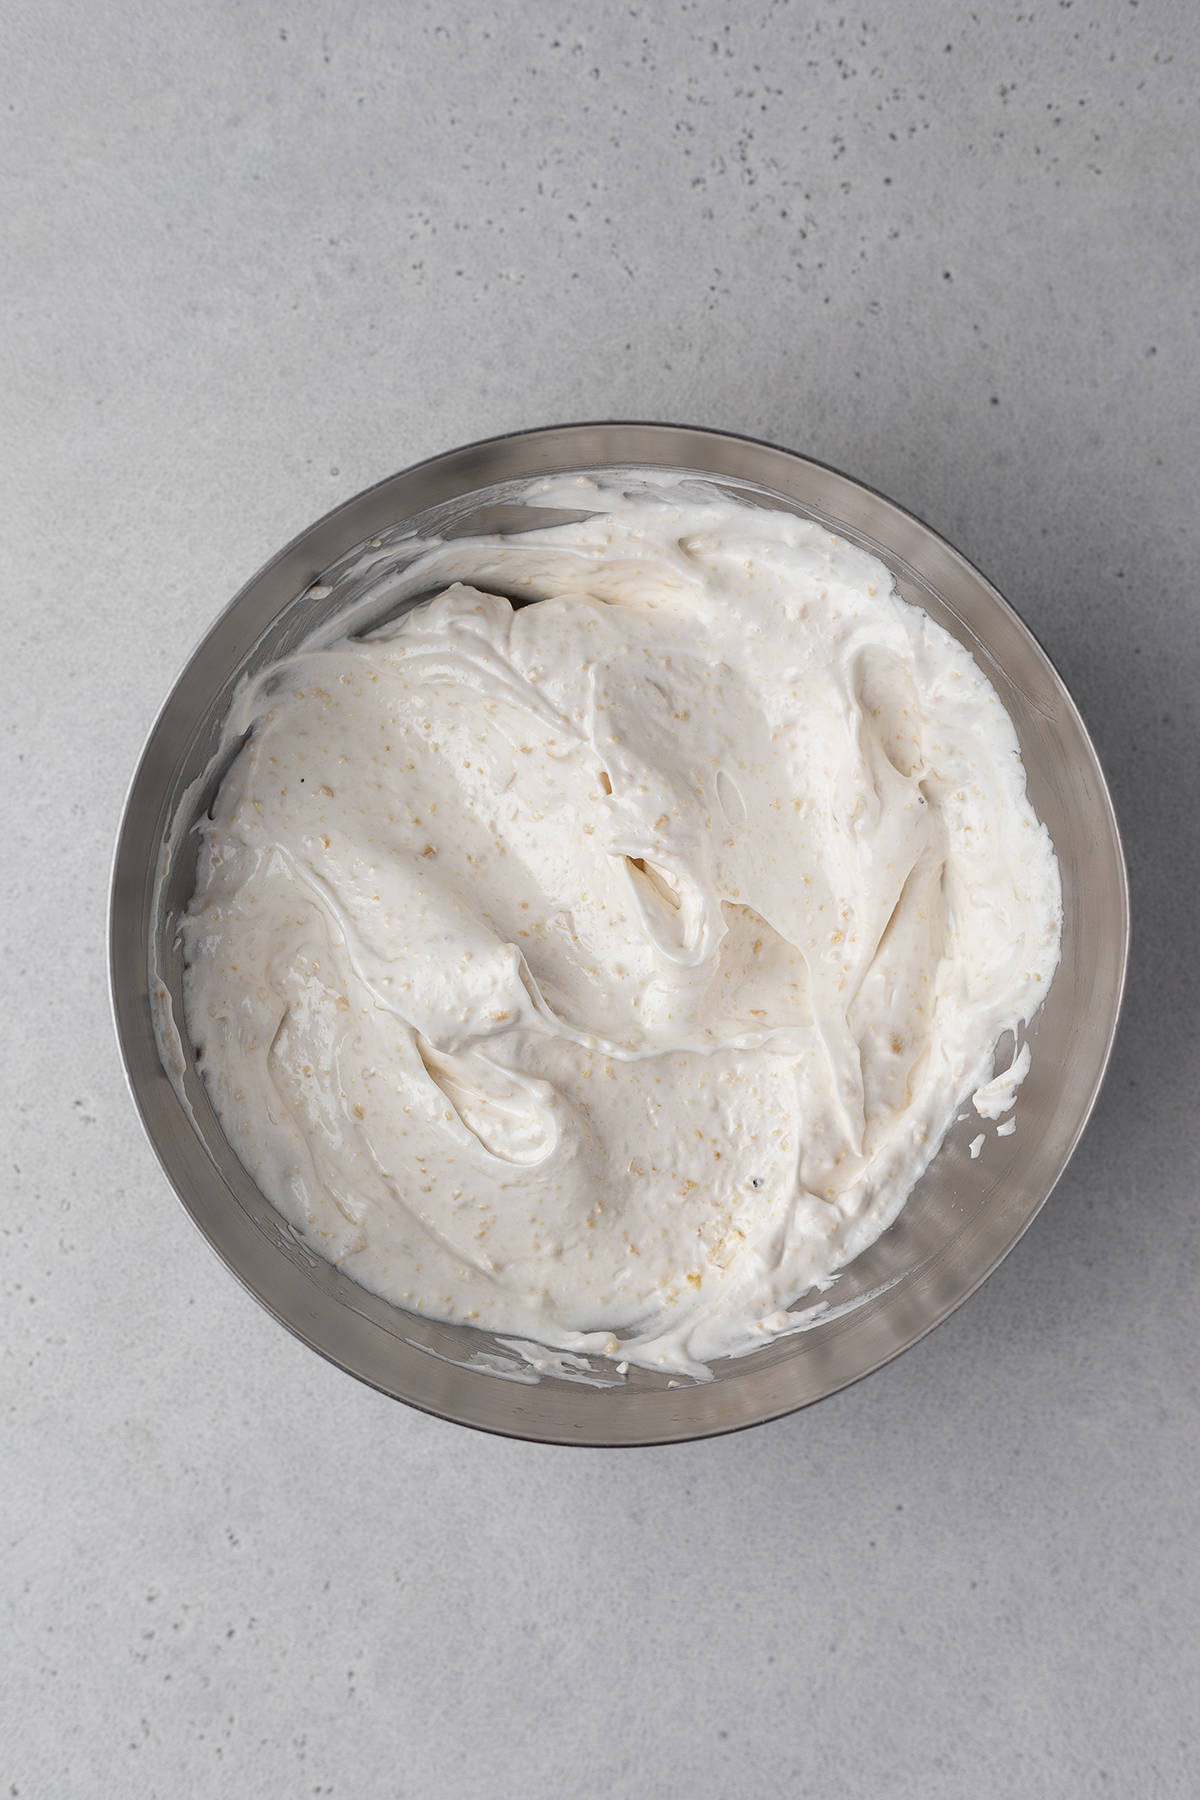
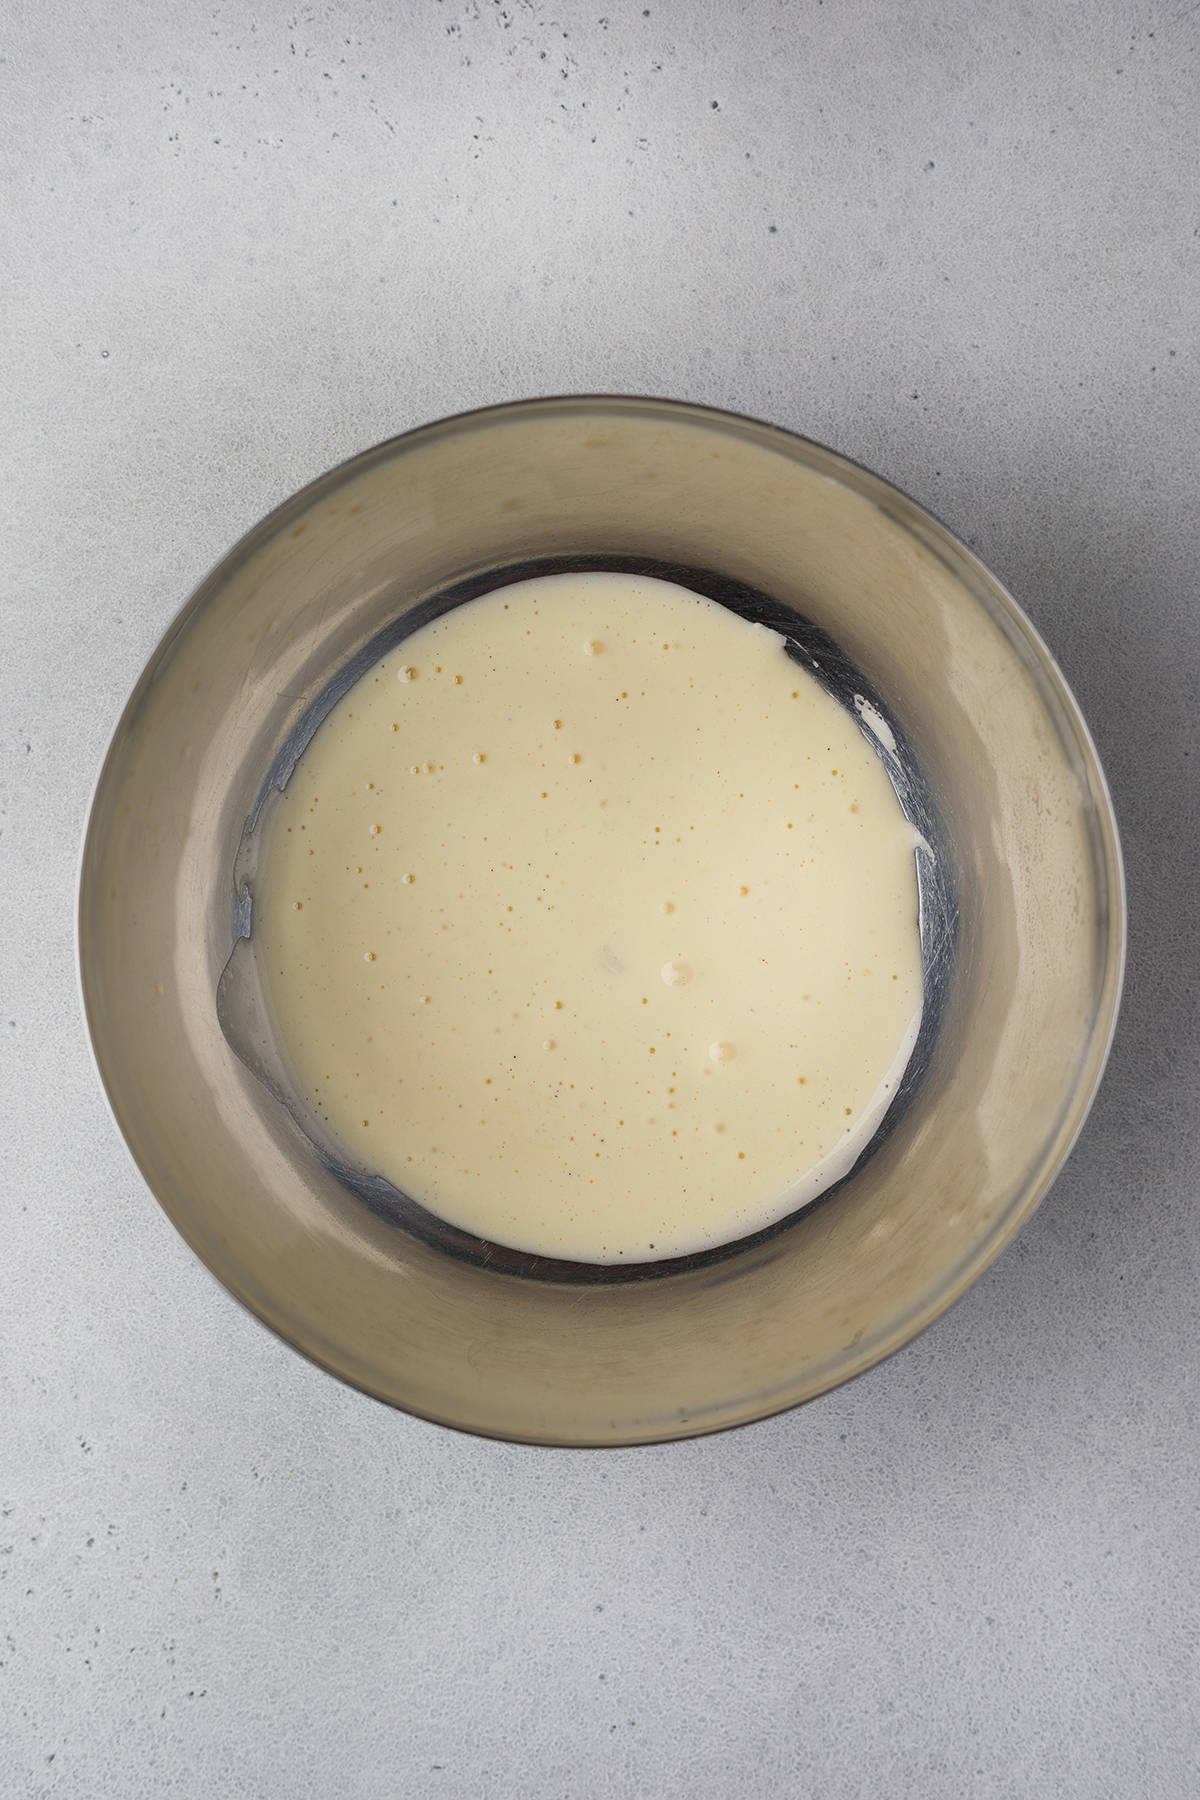
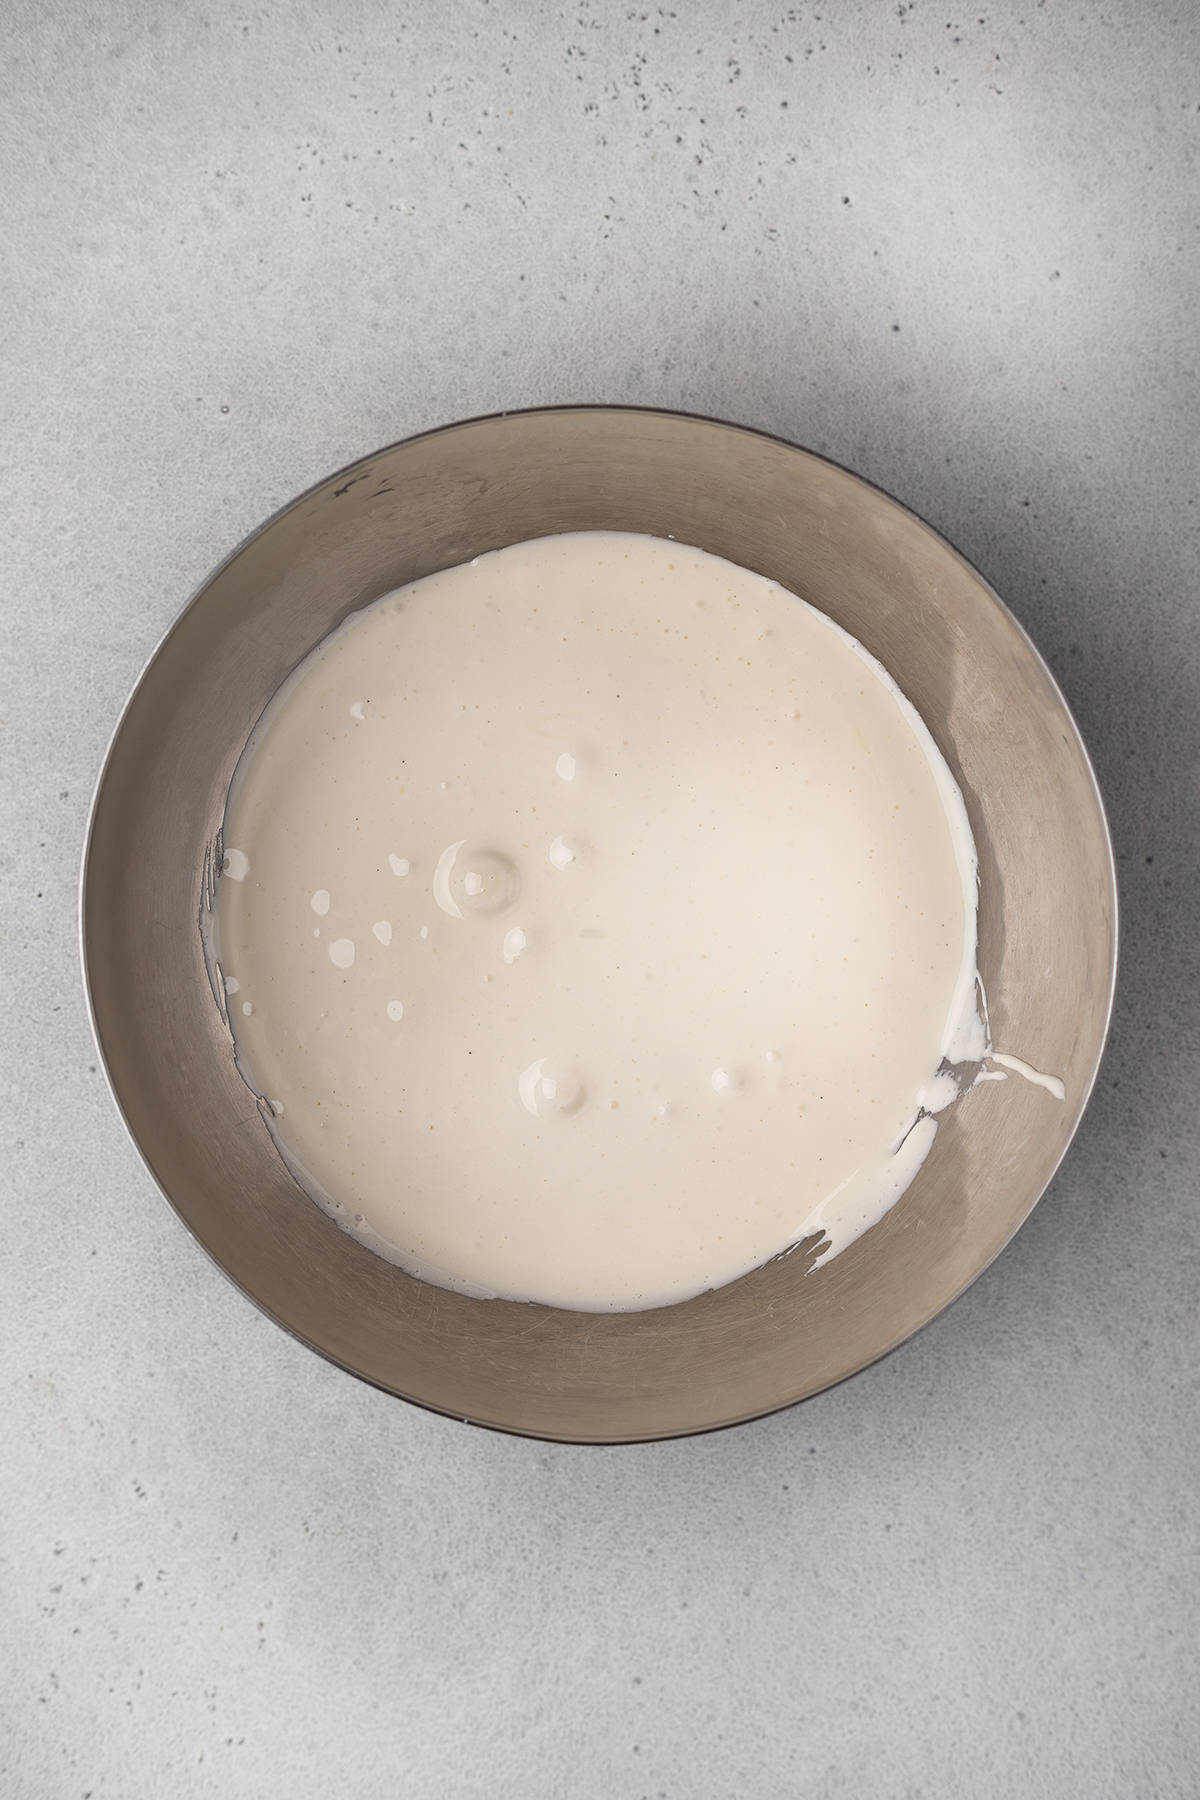
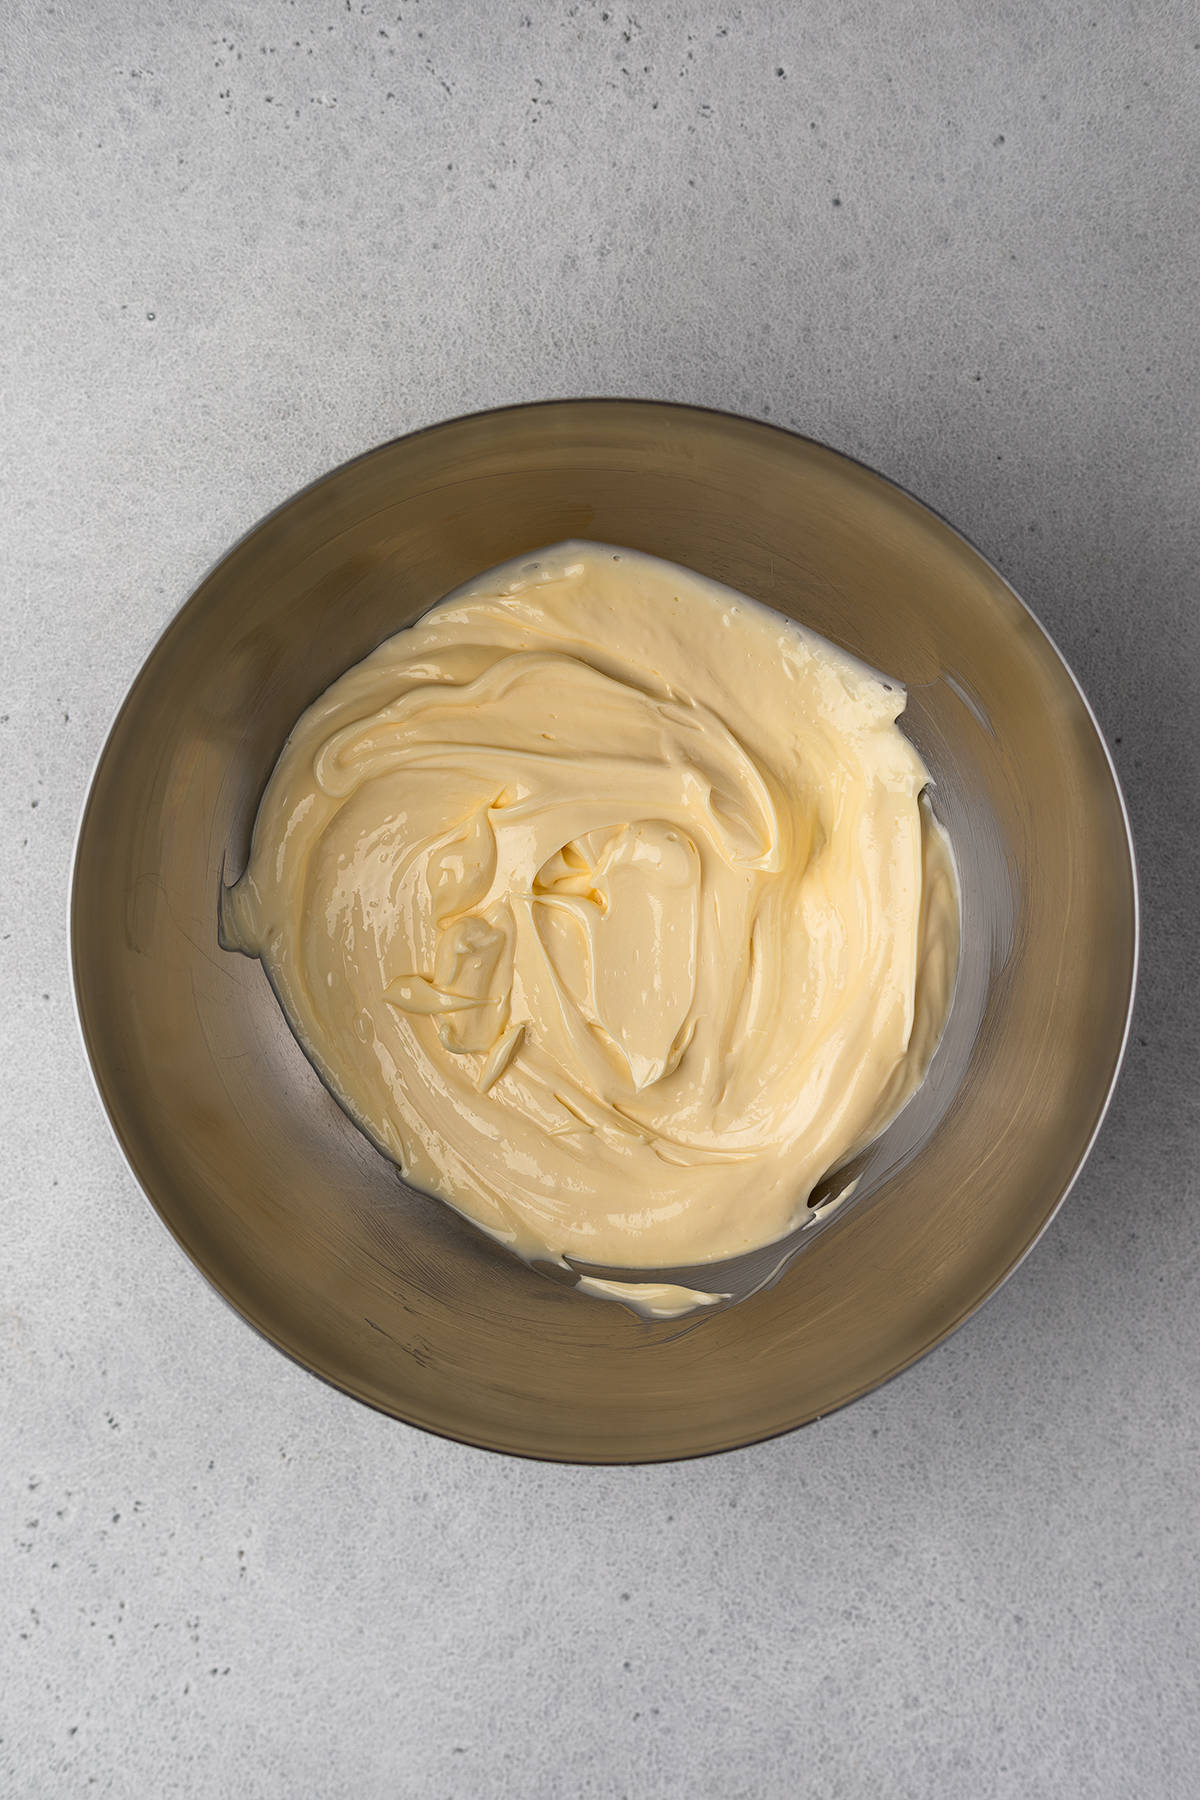
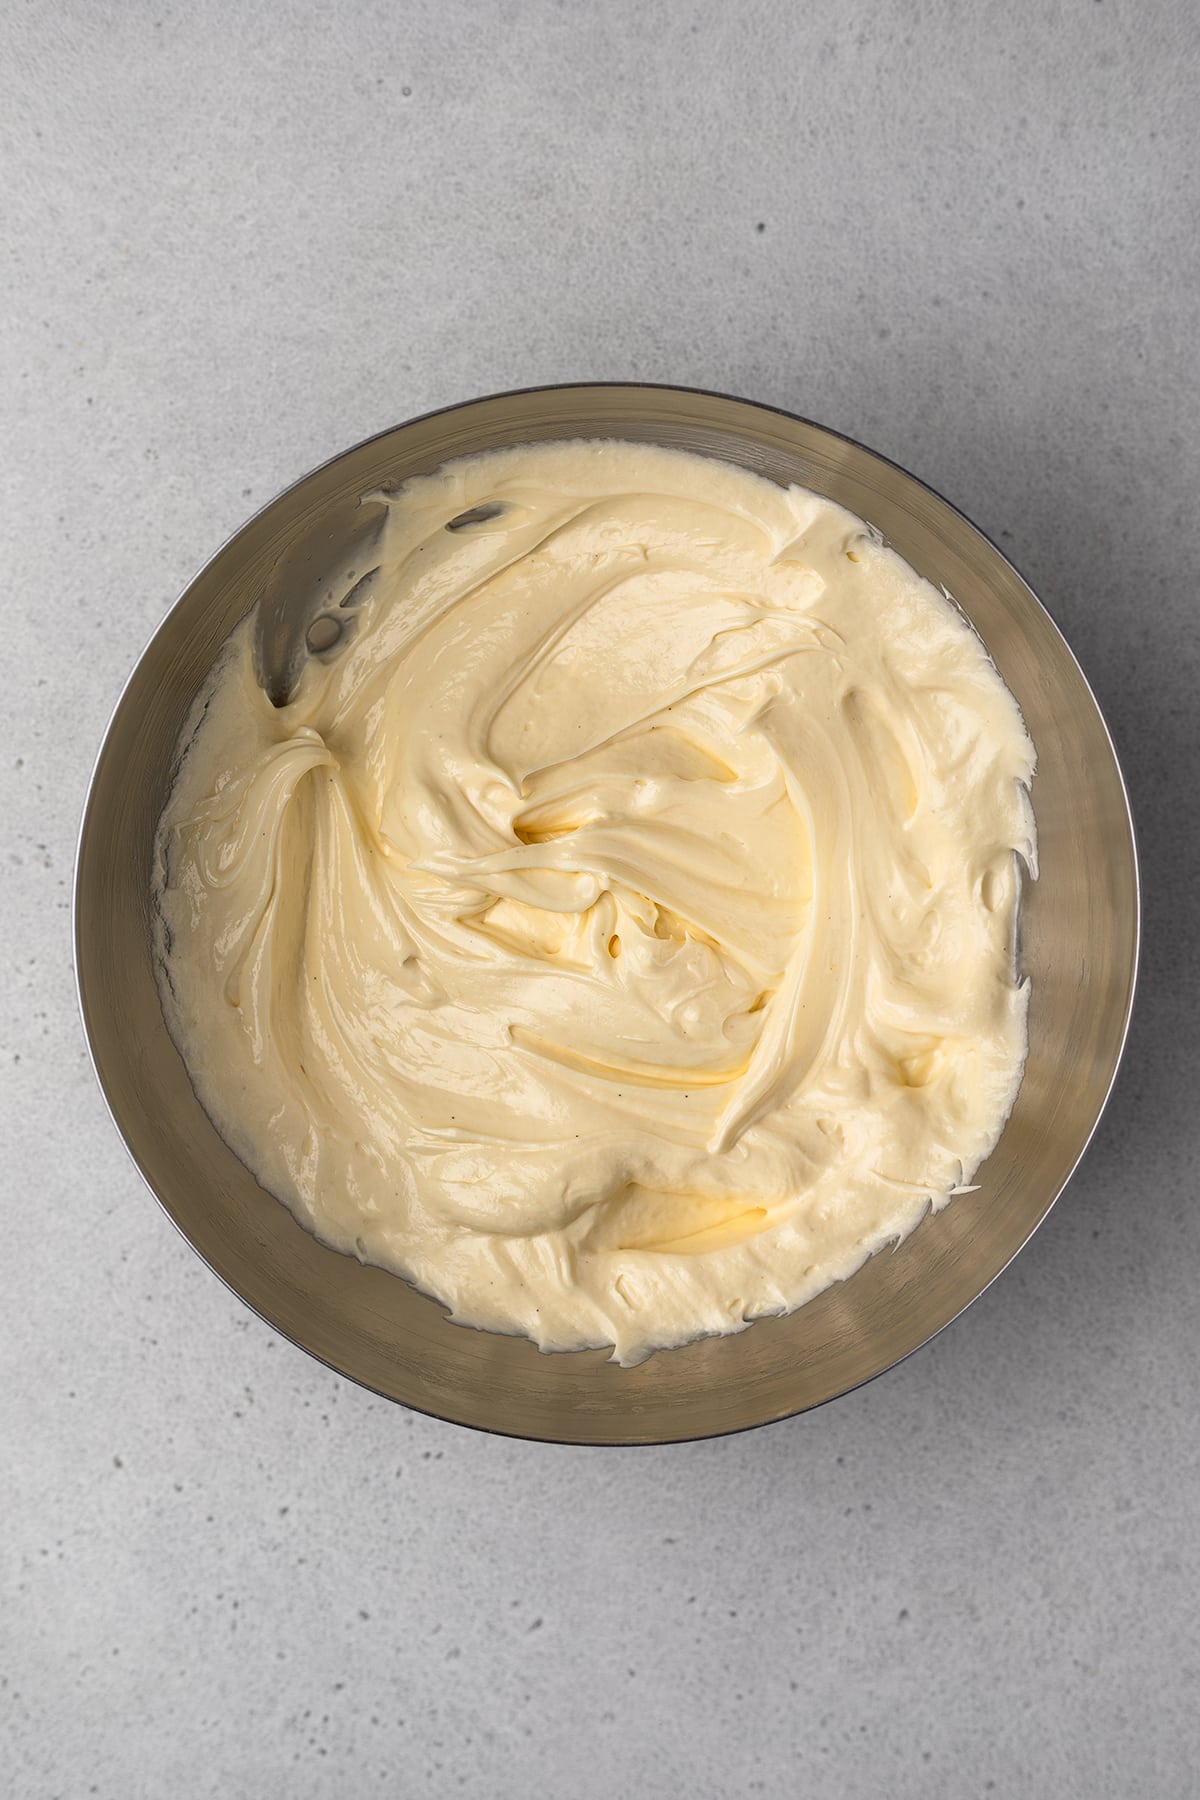
2. Make the cream
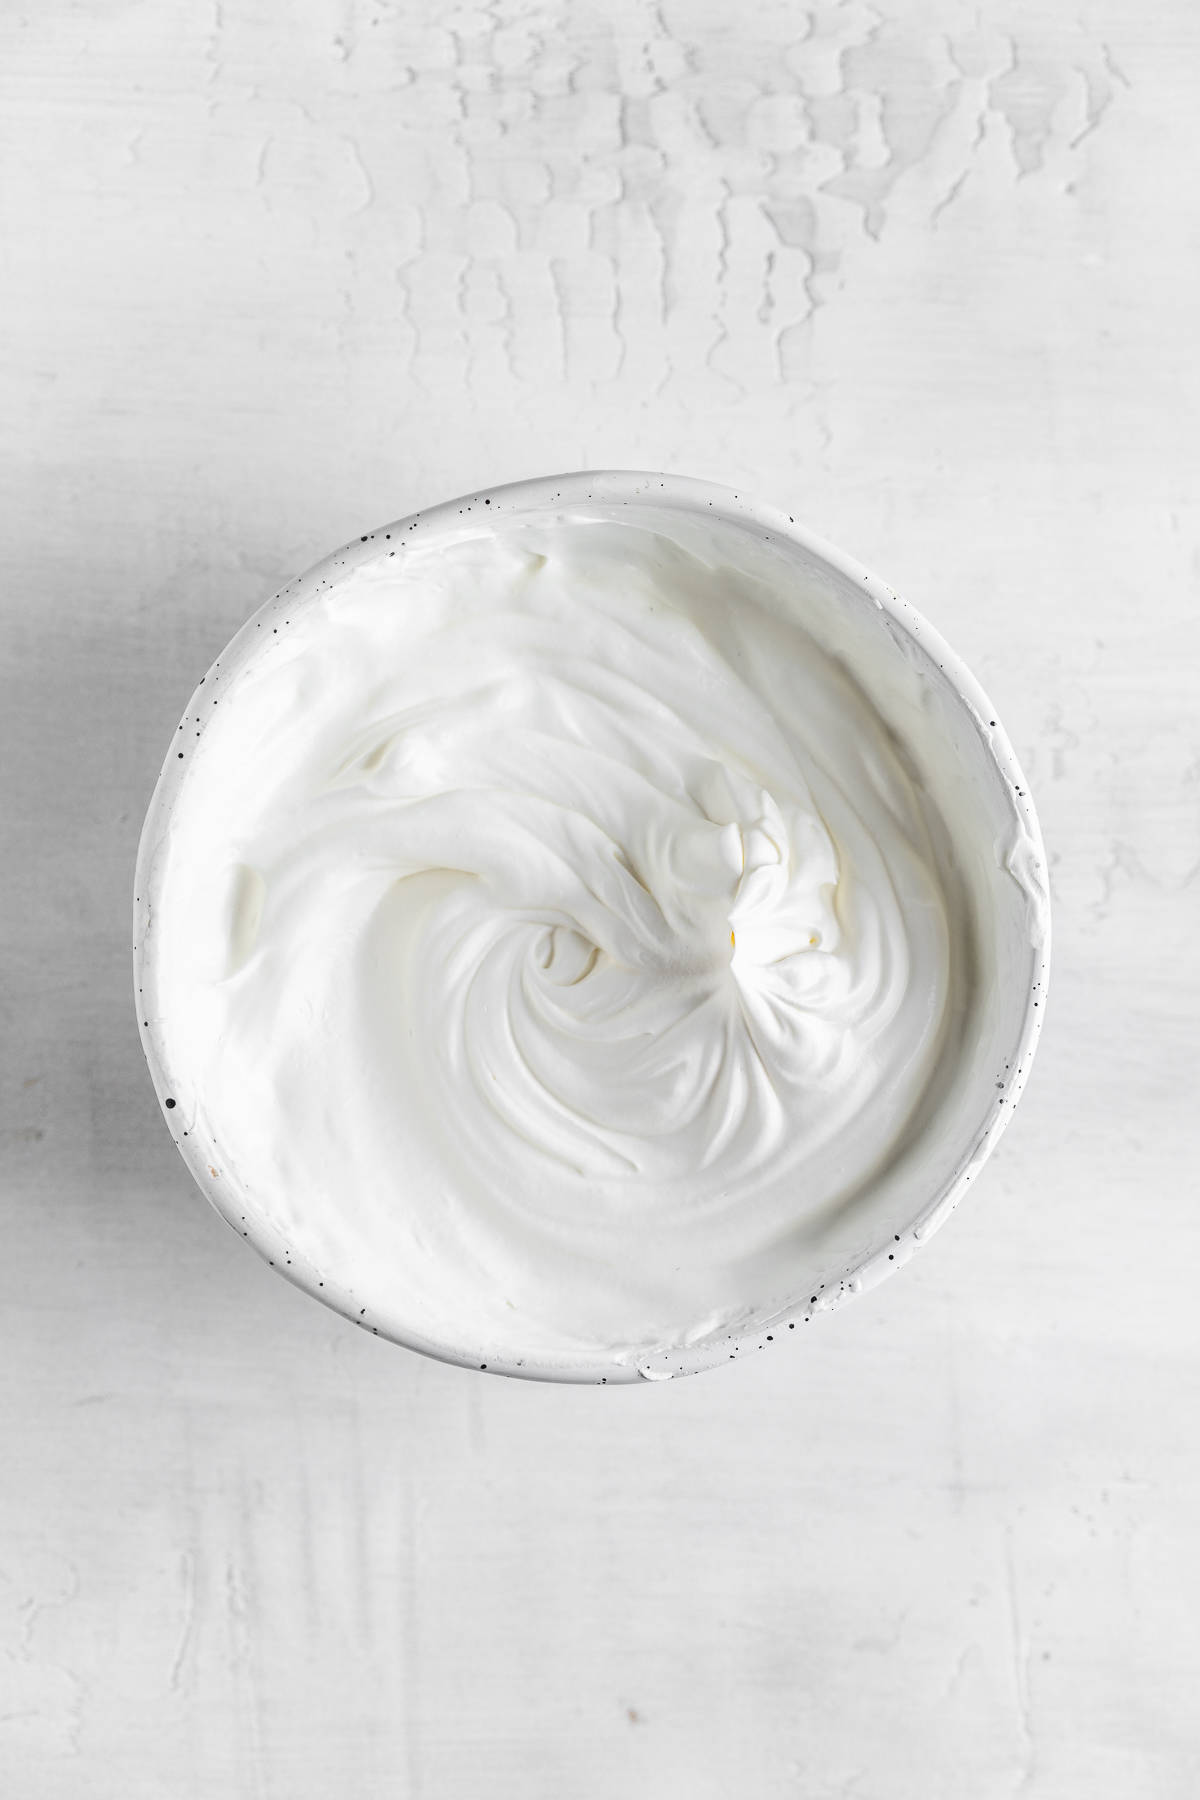
In a large bowl, combine the softened butter and sweetened condensed milk. Whip them together with an electric mixer until smooth and creamy. The mixture should be soft and spreadable.
3. Assemble the roll cake
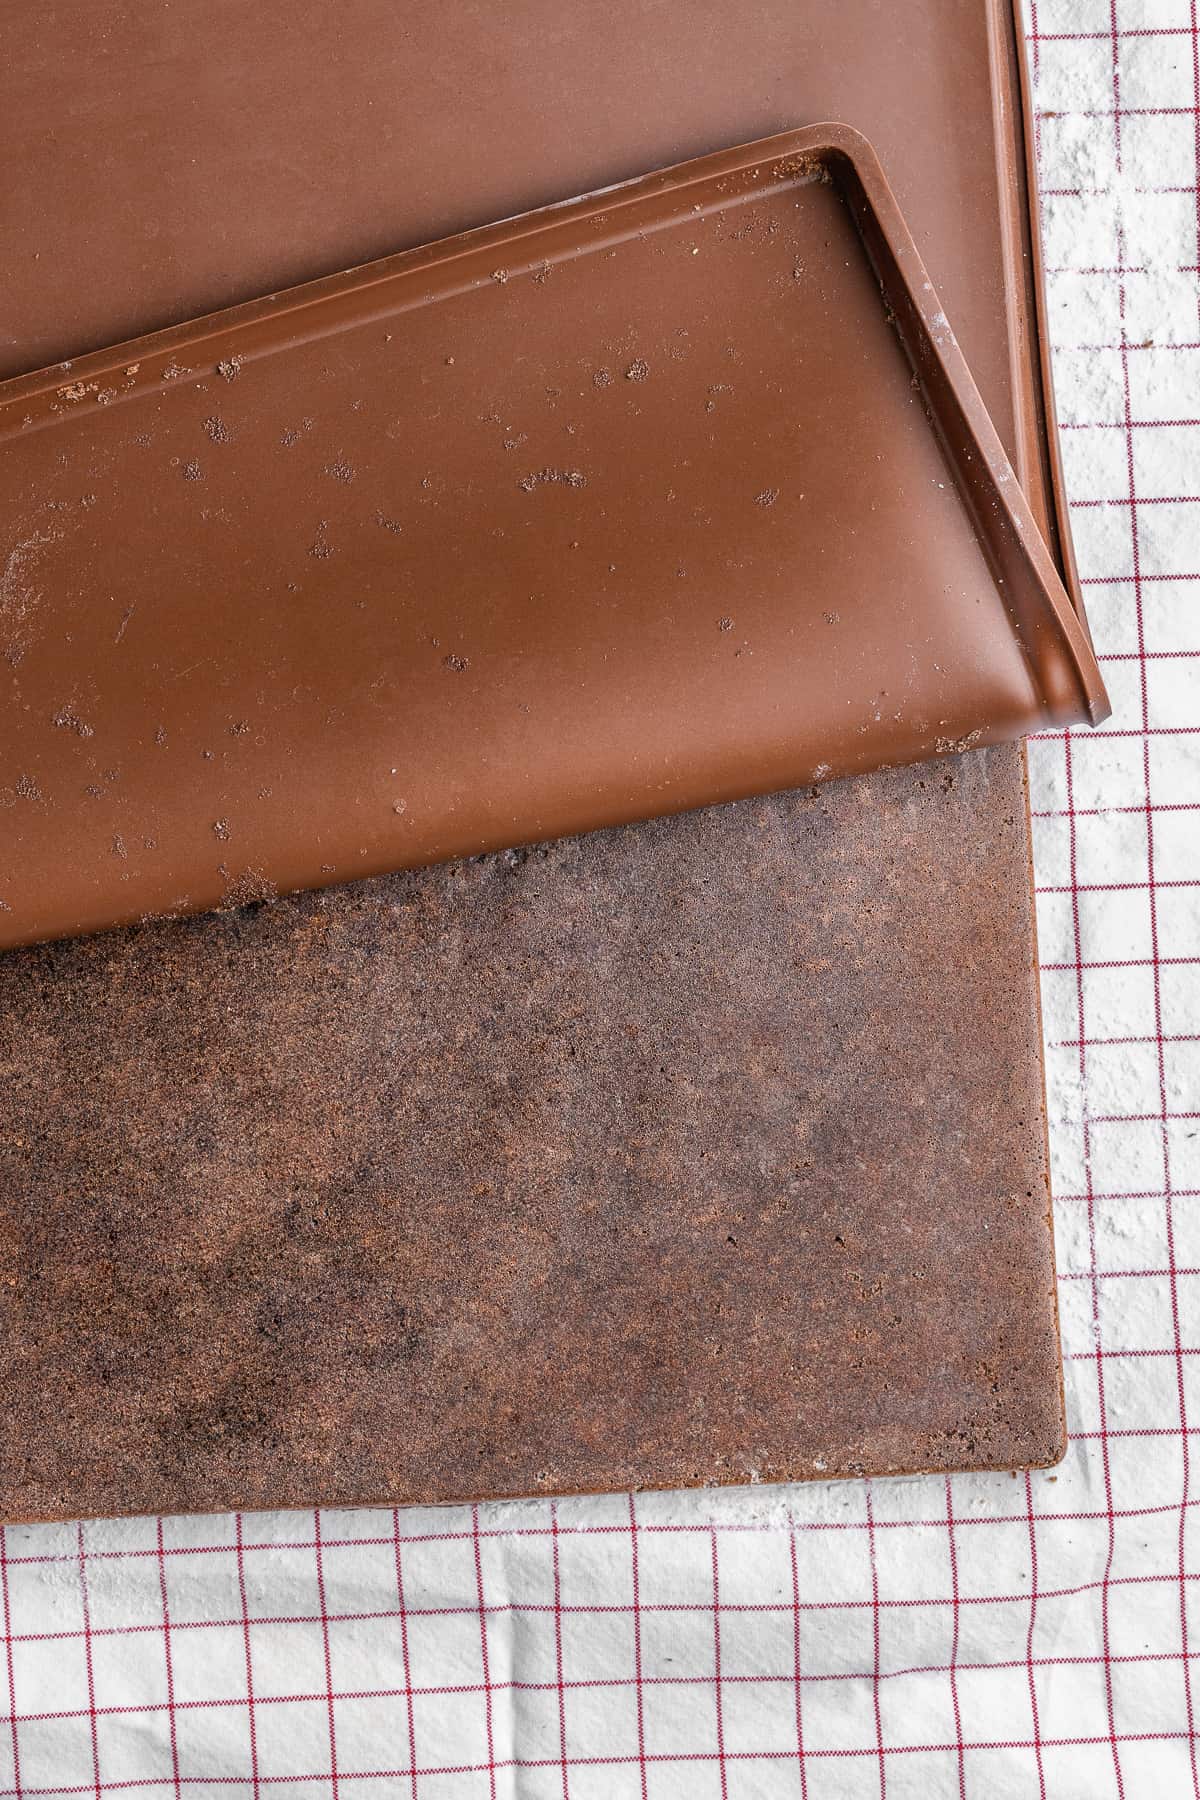
Lay two large pieces of plastic wrap on your work surface, one vertical and one horizontal. Spread 2-3 tablespoons of cream in the center (this helps stick the first layer). Set aside 2-3 baked puff strips for decorating later. Divide the rest into two equal parts.
Place the first layer of pastry strips over the cream. Spread ⅓ of the cream over the strips. Repeat with the second half of the pastry and another layer of cream.
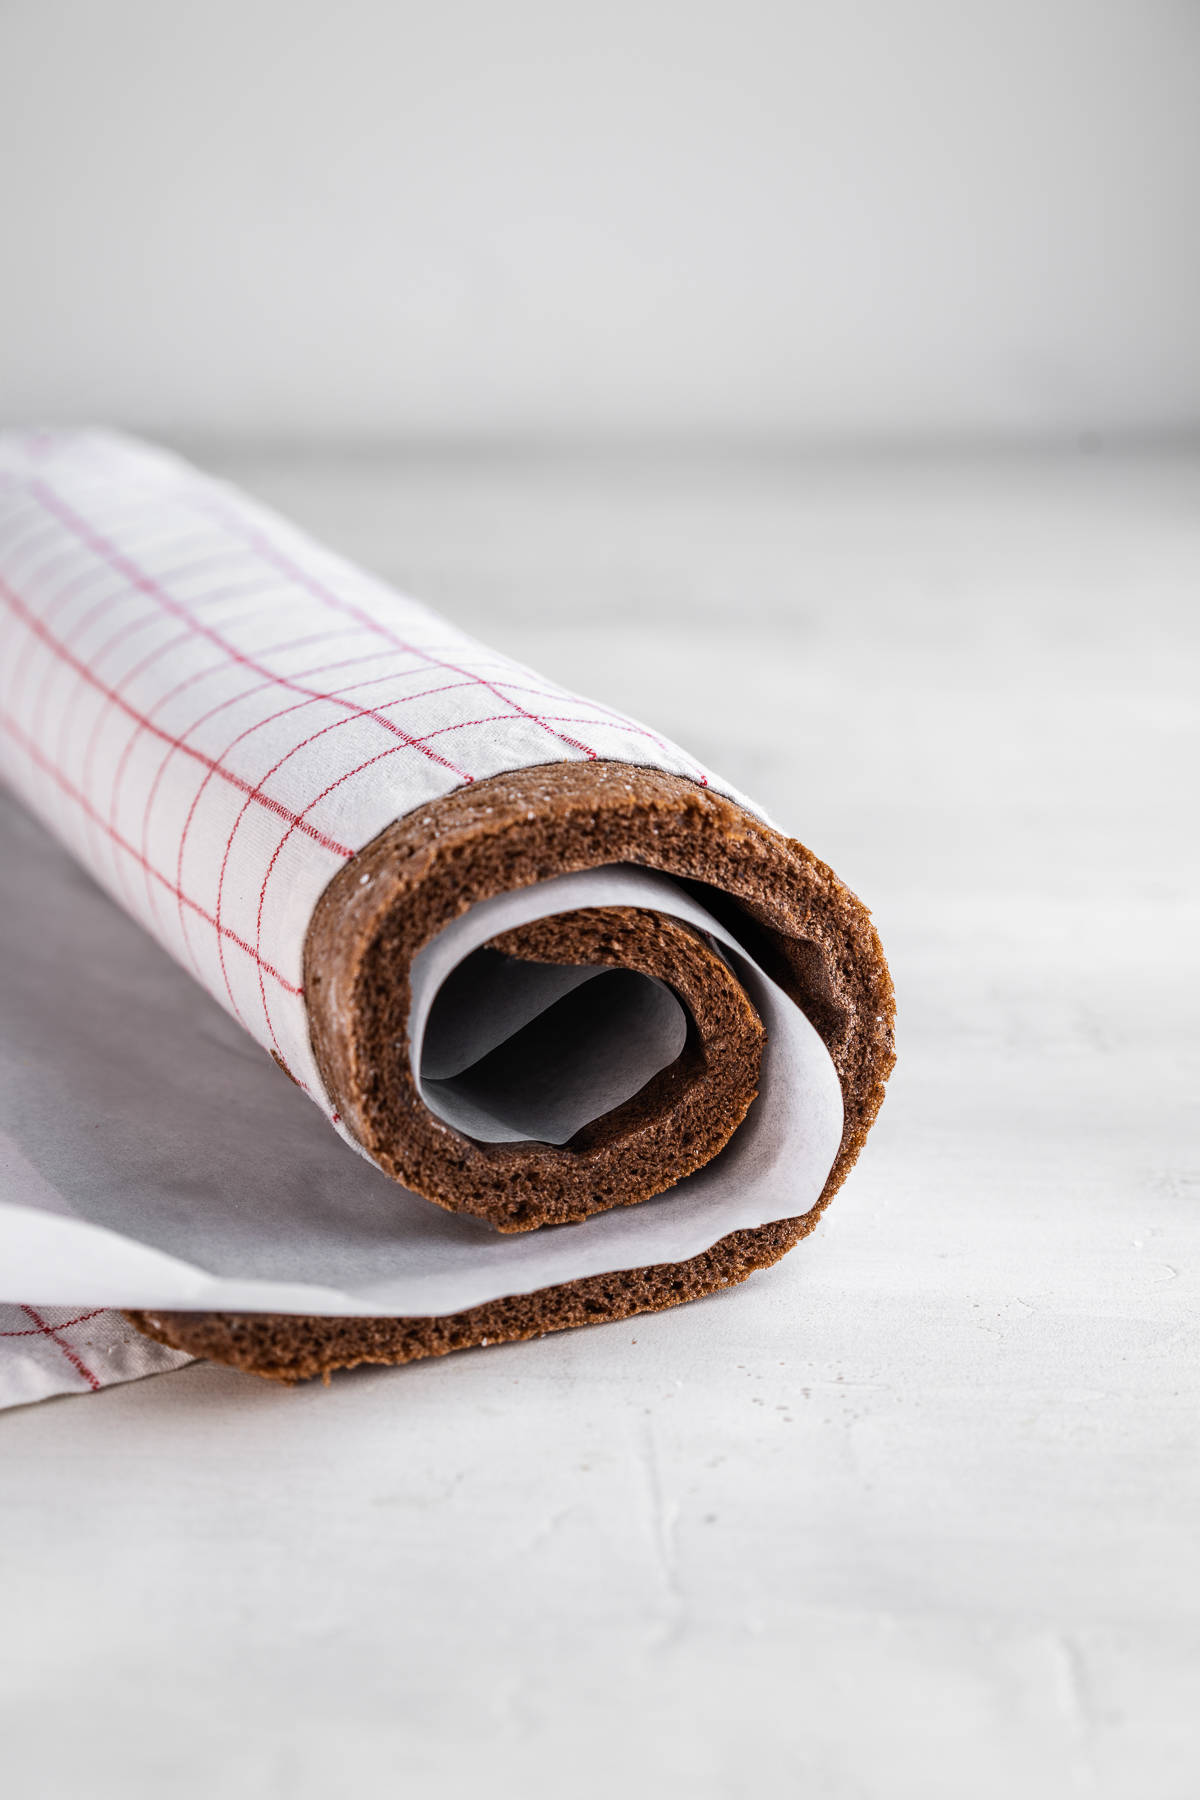
Use the plastic wrap to gently roll the layered strips into a tight log. Seal the ends, then roll the whole thing gently to shape and even it out. Refrigerate for at least 3-6 hours, or overnight for best results.
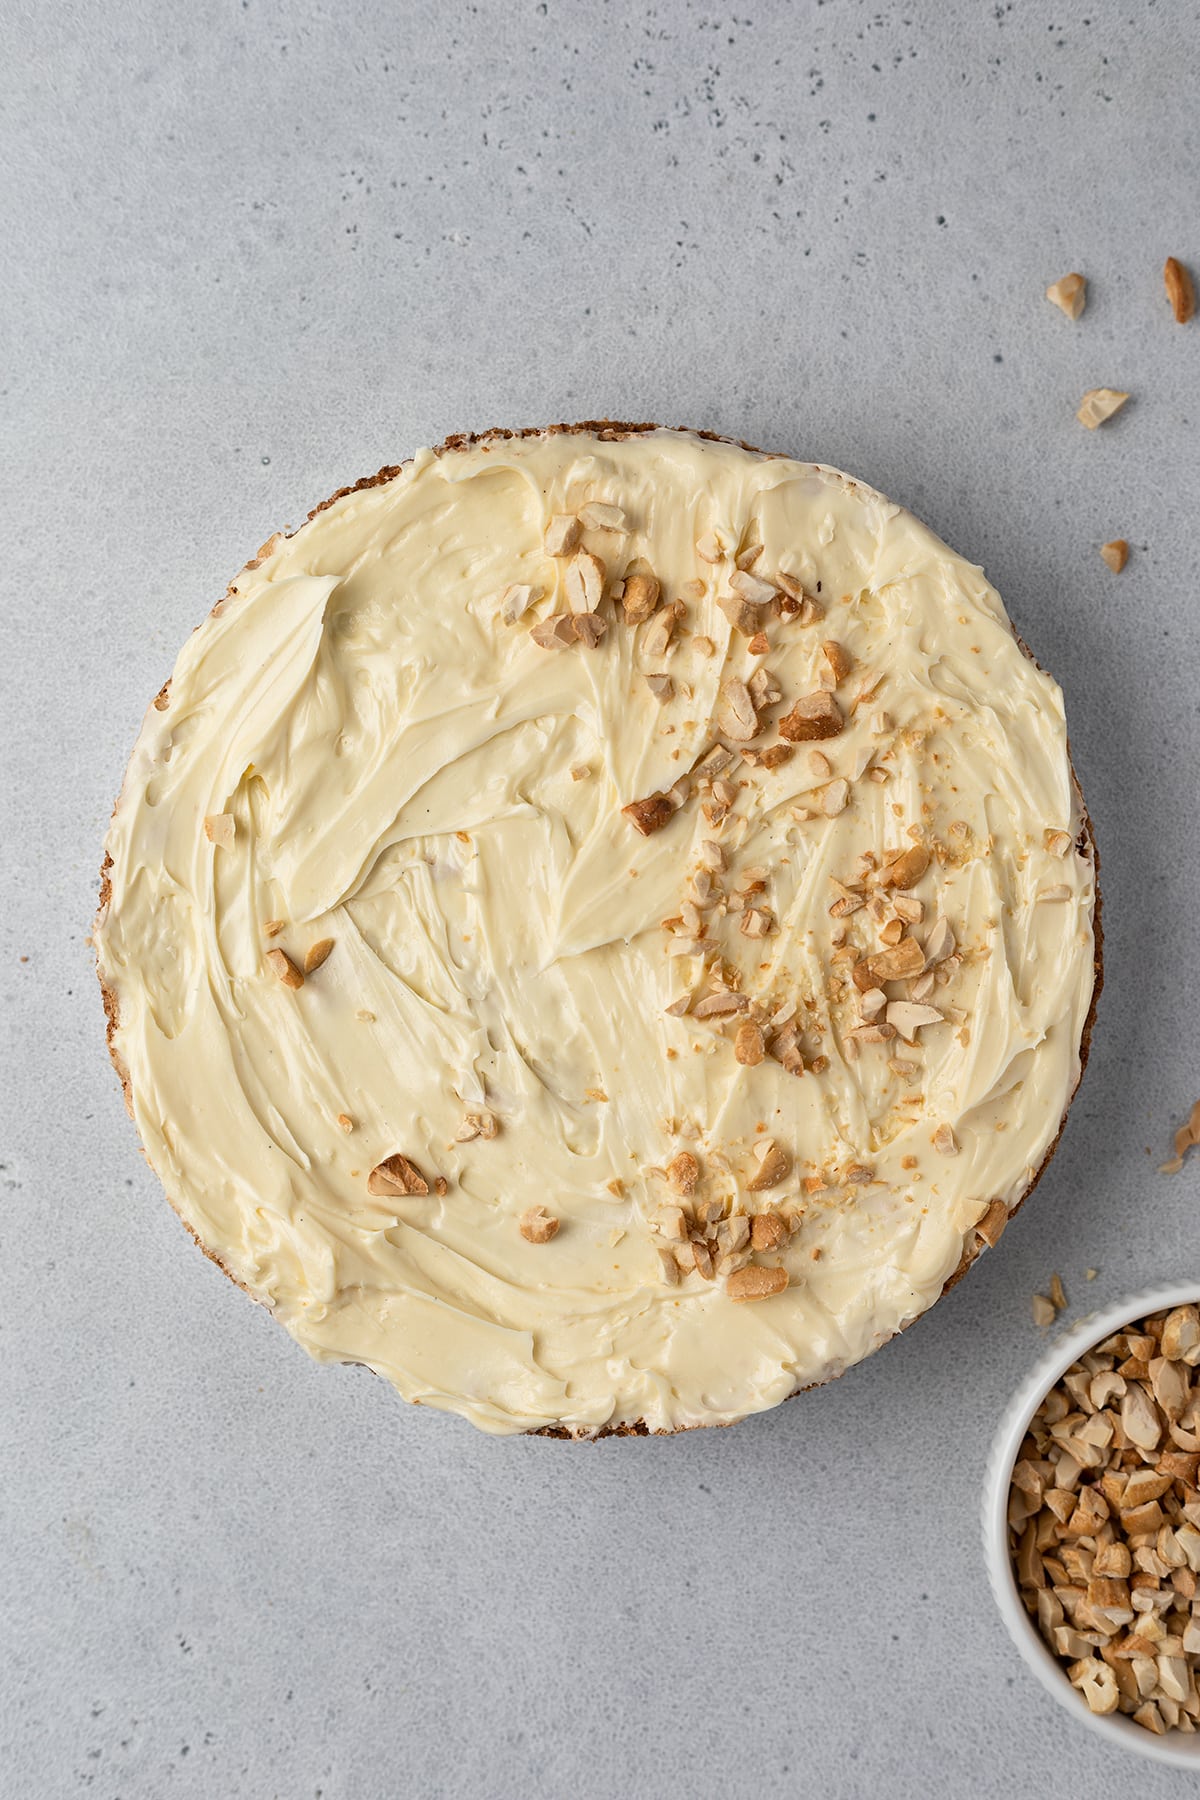
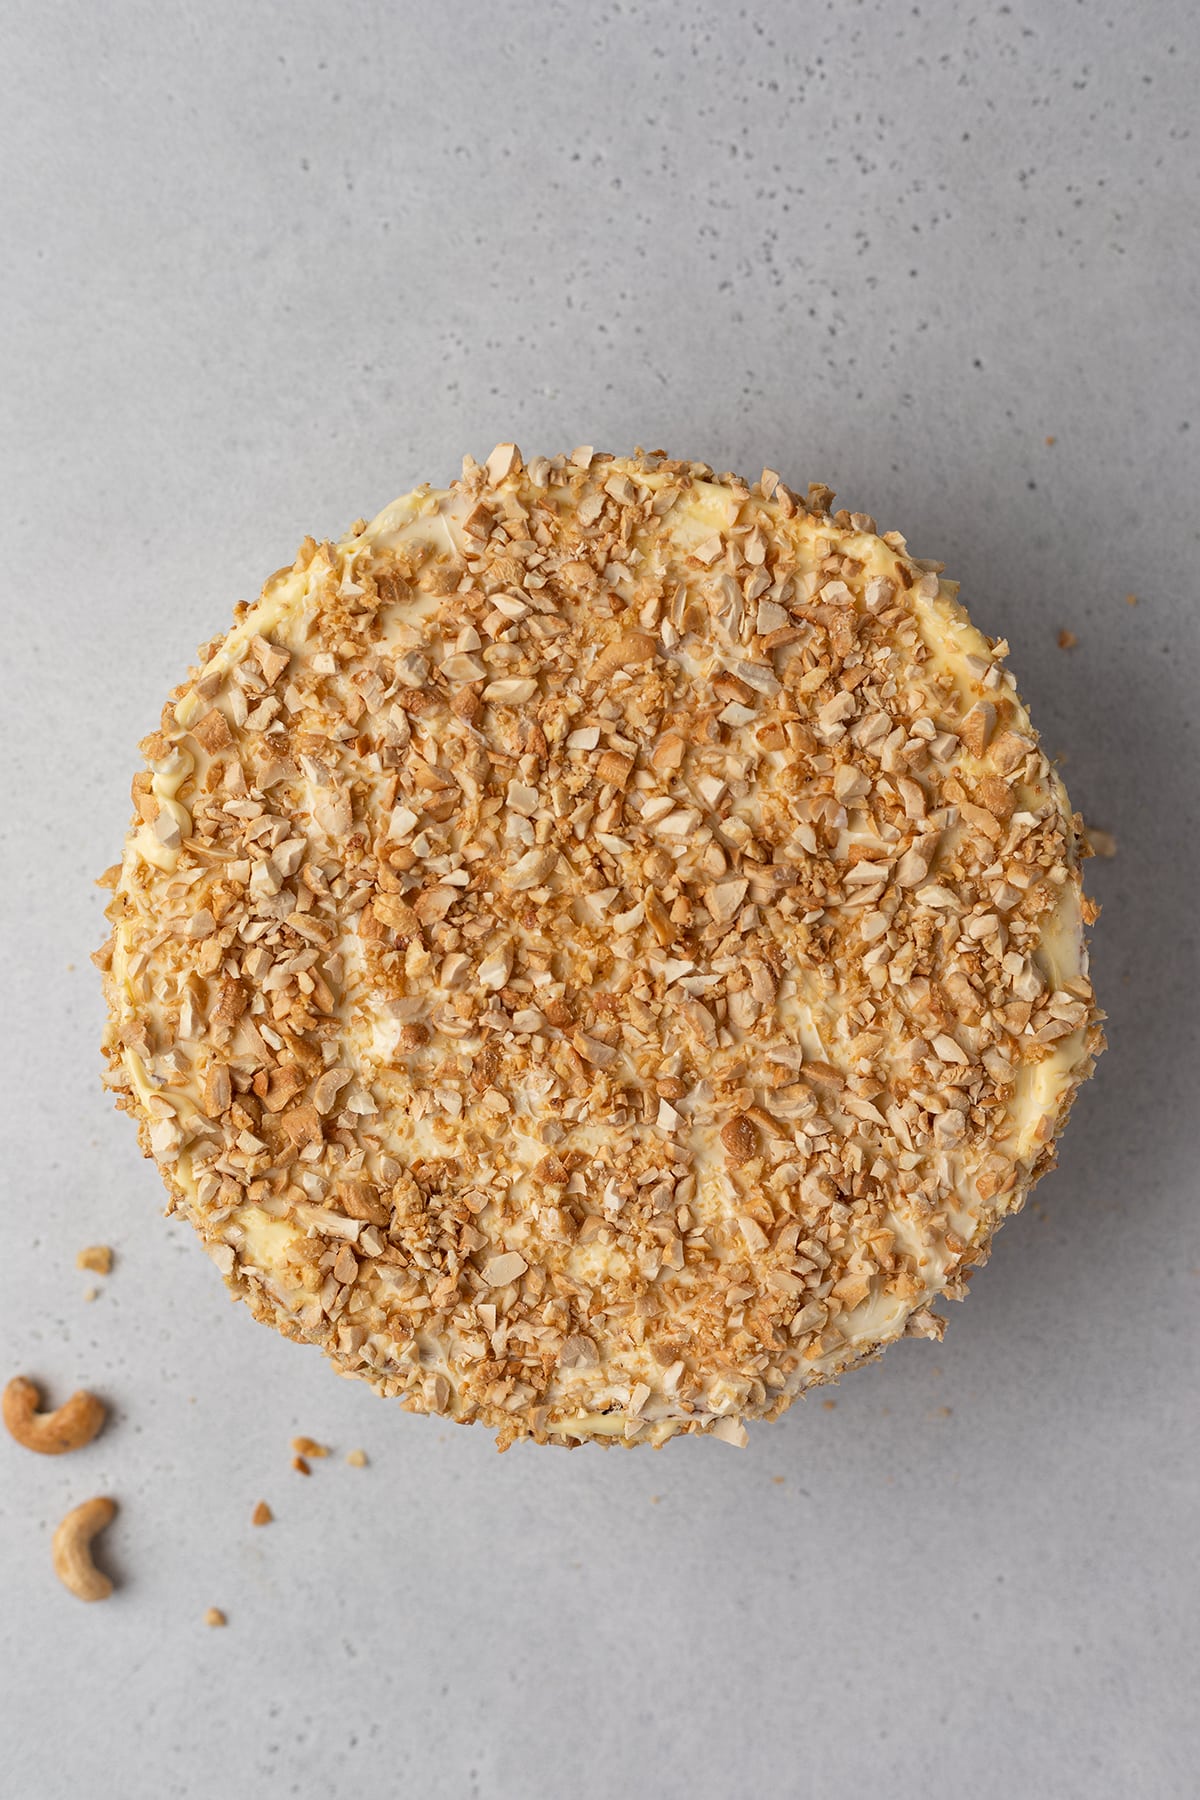
4. Finish and decorate
Remove the plastic wrap. Crumble the reserved puff pastry strips by rubbing them between your palms. Stir the remaining cream with a spatula to loosen it. Spread it over the cake and sprinkle with puff pastry crumbs.
Expert tips
- Make sure your butter is very soft to blend smoothly with the condensed milk.
- Add ½ teaspoon of vanilla extract to the cream for a hint of vanilla flavor.
Storage
This Napoleon cake made with buttercream keeps beautifully in the fridge for up to 3 days. Just store it in an airtight container. It actually tastes even better the next day when the flavors have had time to blend.
Want more delicious and beautiful recipes? Subscribe to my newsletter and follow me on Facebook, Pinterest, and Instagram for my latest updates. If you make this recipe, please leave a star rating on the recipe card and comment below!
PrintRecipe card
Napoleon Log Cake (Twist on the Classic Napoleon)

Napoleon roll cake is a beautiful chilled dessert made from golden store-bought puff pastry strips layered with sweetened condensed milk cream, then rolled into a log and topped with crunchy crumbs.
- Total Time: 45 minutes
- Yield: 6 1x
- Category: Cakes
- Method: Baking
- Cuisine: French
Ingredients
- 1 1/16 lb puff pastry (thawed)
- 1 can (14 oz.) sweetened condensed milk
- 7 oz. (200 g) unsalted butter (softened)
Instructions
- Preheat the oven to 400°F (200°C). Roll out the defrosted puff pastry to a thickness of about ⅙ inch (4 mm). Cut into thin, long strips: 9 inches (23 cm) long, ½ to ¾ inch (1.5-2 cm) wide. Place the cut pieces on a baking sheet lined with parchment paper. Bake for about 15-20 minutes until slightly golden brown. Let the pastry puff cool down.
- Place the softened butter and sweetened condensed milk in a bowl and whisk with an electric mixer until well combined. The cream will be liquid enough.
- To assemble the cake, place two pieces of cling film on the work surface. One piece - along, the second - across to the first. Spread 2-3 tablespoons of the cream on the film. Reserve 2-3 puff strips for decoration, and divide the remaining strips into two parts.
- Place the first part of the puff strips over the cream and spread with ⅓ of the cream. Place the second layer of sticks on top and cover with another third of the cream.
- Using the free end of the cling film, roll the puff pastry into a tight roll. Close all ends of the film and roll the roll over the work surface to even out its shape. Place the rolled cake in the refrigerator for 3-6 hours, or better yet, overnight. Cover the remaining cream with plastic film and refrigerate.
- Remove the cake from the refrigerator and remove the cling film. Prepare the topping from the remaining puff sticks by rubbing them between your palms. Mix the cream with a rubber spatula to warm it up. Spread the cream over the roll and sprinkle it with crumbs.
Notes
- Make sure your butter is very soft to blend smoothly with the condensed milk.
- Add ½ teaspoon of vanilla extract to the cream for a hint of vanilla flavor.
- Keep leftovers refrigerated for up to 2-3 days.
Nutrition
- Serving Size: 1 slice
- Calories: 1447
- Sugar: 127.6g
- Sodium: 507mg
- Fat: 79.1g
- Saturated Fat: 38g
- Carbohydrates: 164.5g
- Fiber: 1.3g
- Protein: 24.8g
- Cholesterol: 151mg
The nutritional information has been calculated using an online recipe nutrition calculator such as Verywellfit.com and is intended for informational purposes only. These figures should be used as a general guideline and not be construed as a guarantee.